Building swivel chair components involves attaching a heavy-duty steel base mechanism to a wooden seat frame using four M8 bolts and a central hydraulic lift, a project that takes about 90 minutes for someone with basic woodworking and assembly experience.
Gear needed to build your swivel chair
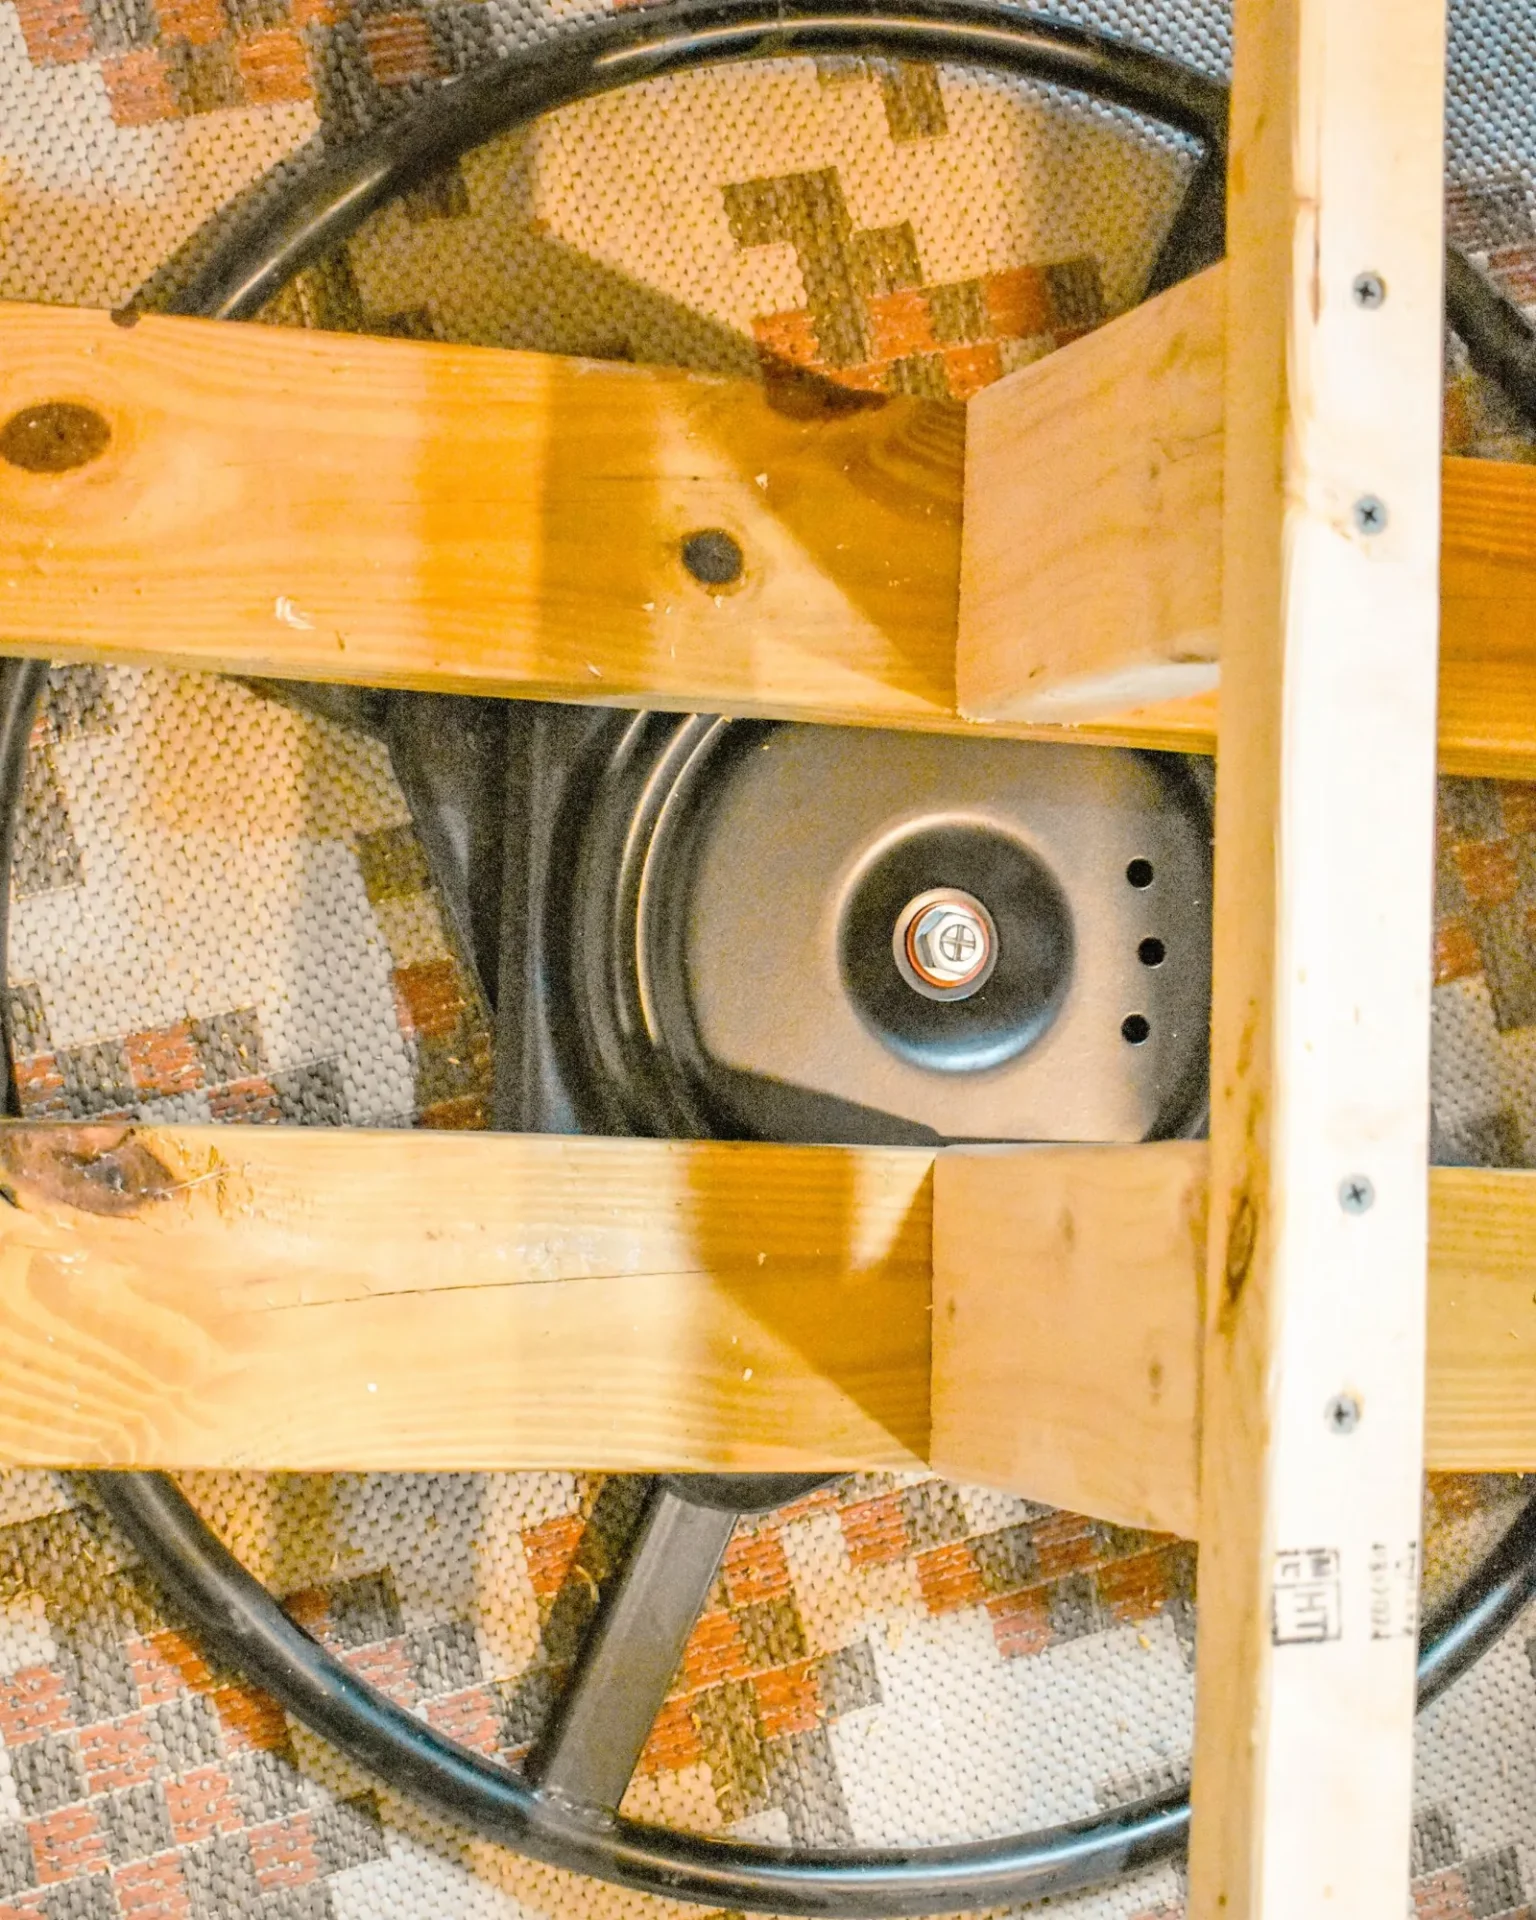
To complete this assembly safely, you need the right hardware and tools on hand before you start. Don’t use standard wood screws for the base mounting, as they can pull out under the weight of a person.
- Heavy-duty steel swivel mechanism plate
- Hydraulic gas lift cylinder (Class 4 for safety)
- Five-star caster base with 50mm wheels
- Four M8 machine bolts with matching washers
- Power drill with a hex bit driver
- Measuring tape and a pencil
- Safety glasses for debris protection
If you need a specific seat frame, you can repurpose an existing dining chair or build a custom plywood base. Ensure your chosen hardware meets the ANSI/BIFMA X5.1 safety standards for office chair stability and durability. If you’re missing a part, don’t use a substitute like a kitchen bolt, as it may lack the required strength.
Assembly steps for the swivel base
- Measure the center of your chair’s underside to ensure the swivel plate is perfectly balanced.
- Align the mounting holes of the steel swivel plate with the frame’s solid wood section.
- Drill holes sized for the appropriate threaded inserts or T-nuts required to secure your M8 machine bolts into the wood frame.
- Secure the plate to the seat by tightening the four M8 bolts firmly in a cross pattern.
- Insert the hydraulic gas lift cylinder into the center hole of the five-star caster base.
- Place the assembled seat unit onto the top of the gas lift cylinder.
- Sit on the chair gently to lock the tapered friction fit between the cylinder and the plate.
Tip: Always check that your pilot holes are deep enough to accommodate the full length of the bolt. Careful: If the base feels wobbly, stop immediately and check that all four mounting bolts are tightened to the same torque.
Adjusting for your specific build

The time and effort required to finish this project change based on your materials and experience level. You should always start with a smaller, lighter seat frame to test the balance before moving to heavier, upholstered designs.
| Situation | Time Required | Difficulty | What to Watch |
|---|---|---|---|
| Simple wood seat | 60 minutes | Low | Bolt tightness |
| Padded custom seat | 120 minutes | Medium | Fabric clearance |
| Reusing old frame | 90 minutes | Medium | Wood integrity |
| Full custom build | 180 minutes | High | Center of gravity |
Judging the final result
A successful build features a seat that rotates smoothly without any grinding noises or lateral shaking. If the chair leans to one side, you likely have an uneven mounting plate or a loose bolt. This usually happens because the mounting holes weren’t perfectly level during the drilling phase.
You can prevent this by using a spirit level on the seat frame before you drive the final bolts into the wood. A stable chair remains flat under pressure and doesn’t tip when you shift your weight.
Rules and maintenance
The primary rule for chair safety is to ensure the gas lift is rated for your total body weight, as defined by the manufacturer’s specifications. You should clear your workspace of metal shavings after drilling and save your hex driver for future adjustments.
Inspect the bolts every six months to ensure they remain tight, as normal use causes minor vibrations that can loosen hardware over time. If you ever hear a metallic clicking sound, stop using the chair until you verify that the steel plate isn’t cracked.
Alternative construction methods

Using a pre-made kit
Some manufacturers offer a complete kit containing a pre-drilled seat and matching base. This eliminates the need for measuring and drilling pilot holes, which saves about 45 minutes of labor but limits your design choices.
Upcycling an office frame
You can remove the old seat from a broken office chair and mount a new custom wooden top onto the existing mechanism. This is the fastest route, as the base and gas lift are already fully assembled.
Building a fixed-base swivel
If you don’t want a gas lift, you can mount the swivel plate directly to a fixed wooden pedestal. This removes the height-adjustment feature but creates a more stable, permanent base for stationary work areas.
Frequently asked questions
Can I build a swivel chair without a gas lift?
Yes, you can mount a ball-bearing swivel plate directly between the seat and a fixed base. This creates a rotating seat without height adjustment, which is common for bar stools or specialized craft chairs.
How long does the gas lift cylinder last?
It typically lasts for a significant duration depending on how often you adjust the height. You can tell it’s failing if the seat slowly sinks while you’re sitting on it or if it stops responding to the lever.
Is it safe to use a used office chair base?
Yes, provided the plastic or metal base shows no visible cracks or stress marks. You should check the underside of the five-star base for deep scratches, as these indicate metal fatigue that could lead to a sudden collapse.
What happens if I use bolts that are too long?
They will poke through the top of your seat frame and damage the cushioning or your clothing. Always measure the thickness of your wood frame and choose bolts that are at least 5mm shorter than the total depth.
How much weight can a custom swivel chair hold?
It depends on the rating of the steel swivel mechanism and the gas lift cylinder you purchase. Most consumer-grade components are rated for 250 to 300 pounds, but you must check the specific weight capacity listed on your hardware packaging.
Conclusion
Building a custom swivel chair is a rewarding project that gives you full control over the comfort and style of your workspace. By focusing on the strength of your mounting points and choosing high-quality hardware, you’ll create a piece of furniture that lasts for many years of daily use.
Related guides