Assembling furniture effectively requires a methodical approach that prioritizes organization, the correct use of hardware, and structural stability. Most flat-pack chairs arrive with a standardized set of components, and by following a logical sequence—starting with inventory management and ending with final tensioning—you can ensure your seating is both safe and long-lasting.
Key Takeaways
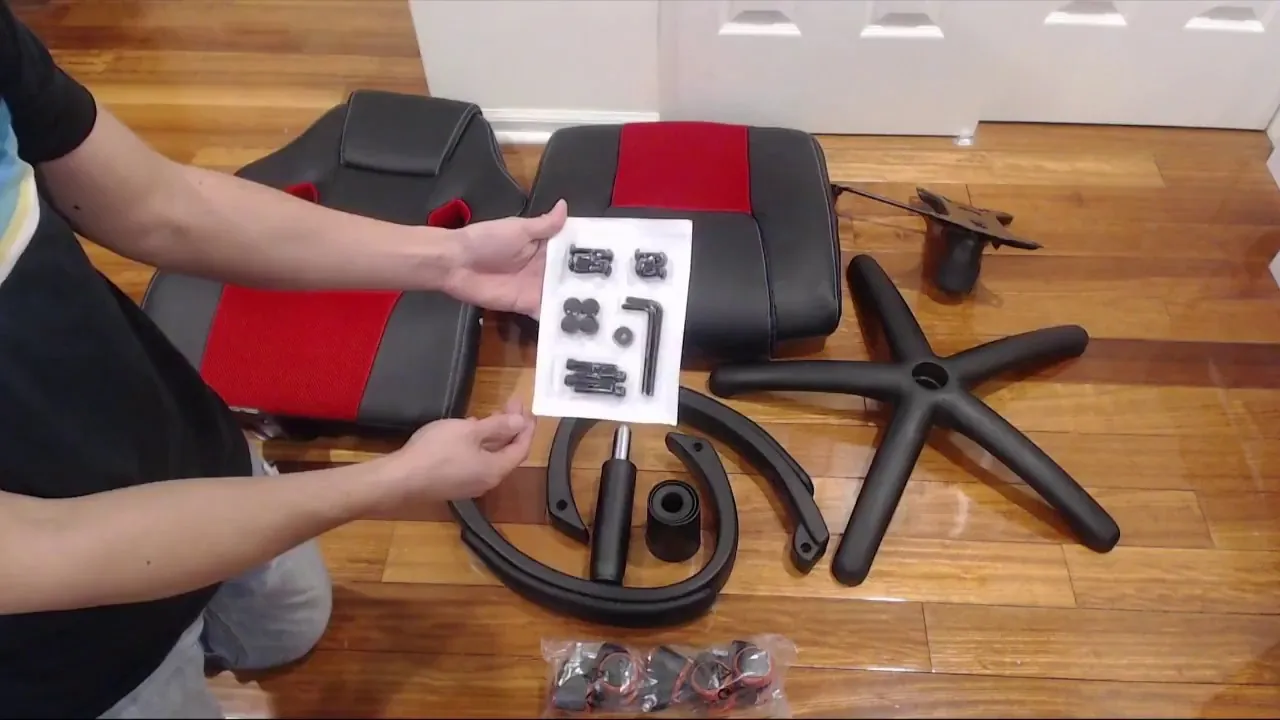
- Always clear a large, soft workspace, such as a rug or carpet, to prevent scratching surfaces.
- Sort all hardware into separate bowls or trays before beginning the build process.
- Never fully tighten bolts until the entire frame is loosely assembled to ensure proper alignment.
- Use the manufacturer’s provided hex key or a manual screwdriver; power tools often strip soft wood or plastic.
- Double-check that all weight-bearing joints are secured according to the Consumer Product Safety Commission guidelines for stability.
Preparing Your Workspace
Before you open the box, designate a clean, open area. If you’re working on a hard floor, lay down a moving blanket or a large towel. This protects the finish of the wood or metal legs from marring. Identify a flat surface for your parts, as small washers and lock nuts are easily lost in carpet fibers.
Inventory of Components
Empty the contents of the box and compare them against the manual’s parts list. Most chairs include these items:
- Seat base
- Backrest frame
- Front legs (usually two)
- Back legs (often integrated into the backrest)
- Hardware pack (bolts, washers, lock washers)
| Component | Purpose | Handling Tip |
|---|---|---|
| Hex Bolt | Structural connection | Hand-thread first |
| Lock Washer | Prevents vibration | Place against bolt head |
| Allen Wrench | Tightening tool | Keep for future repairs |
| Wooden Dowel | Alignment aid | Use wood glue if loose |
How to Put Chairs Together
The assembly process typically follows a specific order of operations. First, attach the seat to the backrest frame. Don’t tighten these bolts fully; leave them about 80% of the way in. This allows the frame to “float,” which makes it significantly easier to align the front legs later.
Once the legs are attached, place the chair on a level floor and apply light downward pressure to ensure all four legs touch the ground simultaneously. Finally, tighten every bolt in a cross-pattern to distribute tension evenly.
Essential Tools Required
While most kits provide a basic Allen wrench, having a few extra items makes the job much smoother. A magnetic-tip screwdriver helps if you have screws for the seat cushion. A rubber mallet is useful for seating wooden dowels without damaging the finish.
- Metric hex key set
-
2 Phillips head screwdriver
- Rubber mallet
- Leveling shim (for uneven floors)
Troubleshooting Common Alignment Issues
If your chair wobbles, the most common cause is uneven tension on the bolts. If you find a bolt that refuses to thread, don’t force it with a power drill, as you risk stripping the internal metal inserts. Instead, back the bolt out completely and try re-aligning the piece by shifting the frame slightly.
Preventing Structural Failure
Warning: Never stand on a chair to reach high places, as residential furniture is designed for static weight, not dynamic movement. Periodically check your bolts every six months, as normal use can cause hardware to back out over time. If a joint feels loose, apply a small amount of thread-locking fluid to the bolt threads before tightening it back into place.
Managing Hardware Types

It’s vital to distinguish between bolt lengths. Often, a kit will include 40mm bolts for the seat-to-back connection and 60mm bolts for the leg-to-seat connection. Installing a long bolt in a short hole can puncture the seat upholstery or the wooden frame, causing permanent damage.
| Hardware Type | Use Case | Installation Method |
|---|---|---|
| Short Bolt | Seat to Back | Hand-start only |
| Long Bolt | Leg to Seat | Cross-pattern torque |
| Flat Washer | Surface protection | Between bolt and wood |
| Lock Washer | Tension maintenance | Closest to bolt head |
Related guides
Frequently Asked Questions
Why is my chair wobbling?
A wobbly chair is usually caused by uneven bolt tension. To fix this, loosen all the bolts on the legs and the seat frame while the chair is sitting on a flat, hard floor. Apply gentle downward pressure on the seat so all four legs contact the ground, then tighten each bolt in a diagonal sequence until they’re secure.
Should I use power tools?
Avoid using power drills or impact drivers. These tools exert excessive torque that can easily strip the threads in pre-drilled holes or crack the wood. Use the provided hand tools to maintain better control and ensure you don’t over-tighten the fasteners. Hand-tightening provides enough force to keep the structure sound without damaging the delicate components.
What if parts are missing?
If you discover missing hardware, check the bottom of the seat cushion or the inside of the backrest box, as small bags are often taped to the underside of upholstery. If you confirm items are missing, contact the manufacturer’s customer service department with your model number. Don’t attempt to substitute hardware with random screws from a hardware store, as you may compromise the safety.
How tight should bolts be?
Bolts should be tightened until they’re snug and firm, providing enough pressure to hold the frame together without movement. Don’t force them past the point of resistance. If you feel a “crunching” sensation or the bolt spins without tightening, you have reached the limit of the material. Stop immediately to prevent stripping the internal housing of the frame.
Can I sit on it immediately?
After you have fully tightened all fasteners and verified the chair is level, it’s safe to use immediately. However, it’s a good practice to perform a “test sit” with caution. Apply weight slowly to ensure the frame feels solid. If there’s any creaking or shifting, re-examine the hardware to ensure every washer and bolt is correctly seated and fully tightened.
Conclusion
Once your chair is fully assembled and stable, take a moment to ensure all decorative caps or floor glides are attached to the bottom of the legs. This prevents scratches on your flooring and keeps the frame level. Keep the instruction manual and the provided hex key in a labeled envelope in your utility drawer for future maintenance, as you’ll likely need to re-tighten the joints after the first few weeks of regular use.