To sit like a professional model, you must master the art of elongating your frame while maintaining an active, engaged posture that emphasizes angles rather than comfort. This technique relies on shifting your weight, creating geometric shapes with your limbs, and ensuring your spine remains lifted to prevent the dreaded slouch that ruins a high-fashion aesthetic. By shifting your focus from “resting” to “posing,” you transform any standard chair into a stage for your personal brand.
Key Takeaways
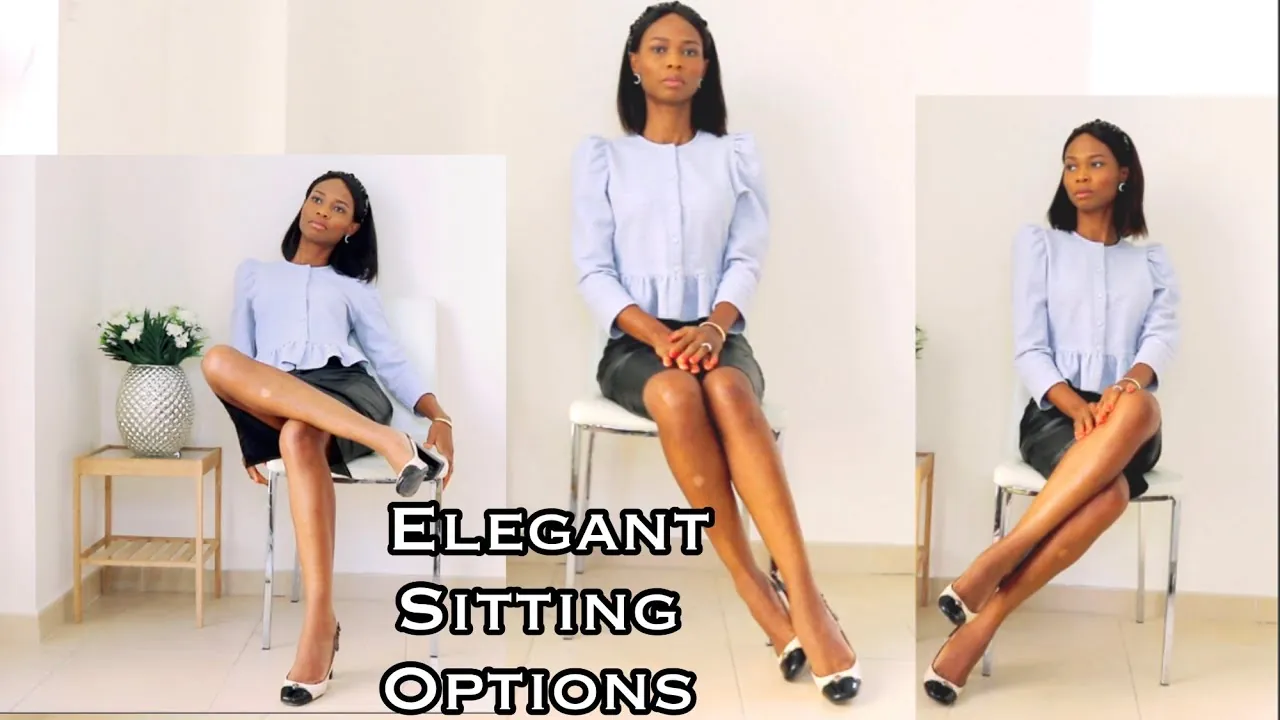
- Always sit on the front third of the seat to prevent your spine from rounding against a backrest.
- Keep your knees together or crossed at the ankles to maintain a clean, elongated line.
- Engage your core muscles constantly to support a tall, regal posture during long sessions.
- Angle your body slightly away from the camera to add depth and dimension to your frame.
- Use your hands to frame your face or emphasize your waistline for a polished appearance.
How to Sit Like a Model
Modeling requires a deliberate approach to anatomy. You’re essentially sculpting your body into a series of triangles and lines. When you sit, your goal is to avoid looking “flat.” Start by sitting toward the edge of the chair, which forces your pelvis into a neutral, upright position. Never let your shoulders collapse; instead, imagine a string pulling the crown of your head toward the ceiling. This postural alignment is the foundation of every professional seated pose.
Essential Sitting Positions
| Position Name | Leg Placement | Arm Positioning |
|---|---|---|
| The Elongated Cross | Ankles crossed, knees tight | One hand on hip, one relaxed |
| The Side Angle | Knees together, angled left | Both hands resting on thighs |
| The High-Fashion Fold | One knee over the other | Elbows tucked, hands near chin |
Managing Your Lower Body
Your legs are the longest part of your frame, and how you place them determines the overall silhouette. A common mistake is allowing knees to splay outward, which breaks the visual line. Instead, keep your knees touching or crossed at the ankles to maintain a slender silhouette. If you’re wearing a skirt or dress, ensure your legs are angled toward one side of the frame to create a more dynamic, editorial shape.
Using Your Hands Correctly
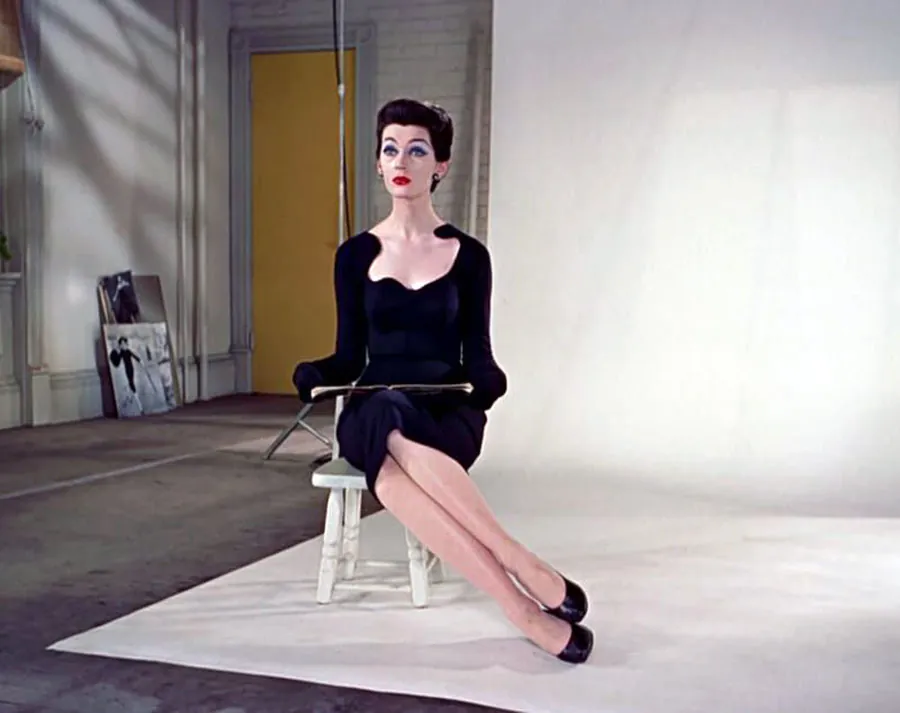
Hands are often the most awkward part of a seated pose. Avoid letting them hang limply at your sides, as this creates a “dead weight” look. Instead, use your hands to interact with your environment or your own body.
Place one hand gently on your collarbone, rest your chin on your thumb, or hook your fingers into your waistband. This creates visual interest and draws the viewer’s eye toward your face or waist, which are the primary focal points in portraiture.
Why Posture Matters Most
Good posture isn’t just about aesthetics; it’s a functional requirement for the human spine to maintain health during extended periods of inactivity. According to Harvard Health Publishing, maintaining a neutral spine while seated reduces the mechanical stress placed on your vertebrae and supporting ligaments. By keeping your shoulders back and your core engaged, you aren’t only looking like a model but also protecting your long-term physical health.
Pro Tip: Angles Over Comfort
Warning: Don’t lean back into the chair. When you lean back, your spine naturally curves into a “C” shape, which makes you look shorter and less alert. Always hover your back away from the chair, keeping your torso suspended through the strength of your core. This requires significant muscular effort, but it’s the secret to that effortless, “expensive” look that professional models achieve in every single shot.
Establishing Your Angles
| Angle Type | Benefit | When to Use |
|---|---|---|
| Three-Quarter View | Adds depth to the face | Standard portrait photography |
| Full Frontal | Projects confidence and power | Editorial fashion features |
| Profile View | Highlights jawline and neck | Artistic or dramatic shoots |
Troubleshooting Common Issues
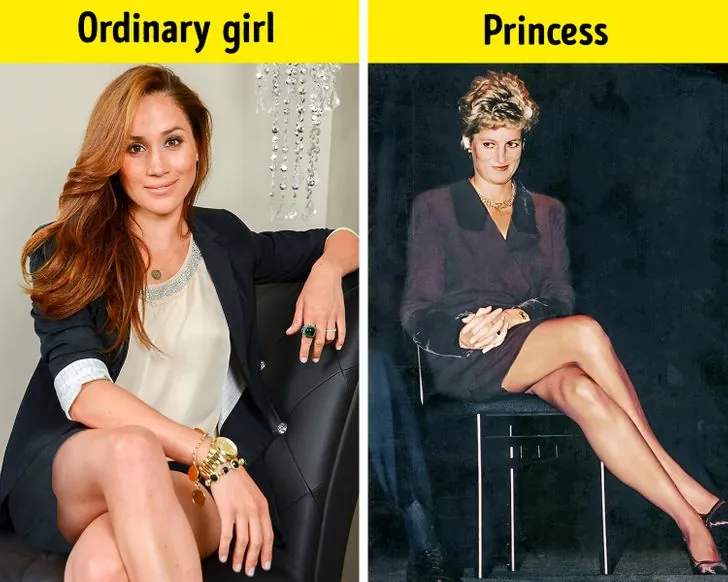
- Shoulder Tension: If your shoulders feel high, take a deep breath and consciously drop them away from your ears.
- Double Chins: Push your forehead slightly forward and down to sharpen your jawline instantly.
- Dead Limbs: If your arms feel stiff, shake them out and re-pose with soft, bent elbows.
- Awkward Feet: Always point your toes or tuck your feet slightly under the chair to keep lines clean.
Related guides
- My Honest Review: Stand Mixer For Professional Use – 2026 Guide
- My Honest Review: Stand Mixer For Professional Use – 2026 Guide
- My Honest Review: Stand Mixer For Professional Use – 2026 Guide
Frequently Asked Questions
How do I stop looking stiff?
Stiffness usually stems from holding your breath. Remember to breathe through your nose, which keeps your chest and shoulders relaxed. Soften your gaze and keep your mouth slightly parted. This prevents the “deer in headlights” expression and creates a more approachable, fluid aesthetic that looks natural rather than forced.
What should I do with my feet?
Never let your feet dangle or rest flat on the floor in a wide stance. Either tuck them behind your heels, cross them at the ankles, or elevate them on a stool. Keeping your feet active and pointed helps extend the length of your legs, making you appear taller and more elegant in every seated photograph.
How do I pose for headshots?
For headshots, focus on your face and shoulders. Angle your body forty-five degrees away from the lens, then turn your face back toward the camera. This creates a slimming effect. Use your hands to frame your face or rest them on your lap to keep the composition balanced and professional.
Can I sit on the floor?
Sitting on the floor allows for more dramatic, artistic poses. Extend one leg while tucking the other underneath you to create a beautiful, angular shape. Avoid sitting directly on your bottom; instead, shift your weight onto one hip. This keeps your spine lifted and prevents your clothes from bunching up awkwardly around your midsection.
Conclusion
To begin mastering these techniques, spend ten minutes each day practicing in front of a full-length mirror. Focus on shifting your weight and experimenting with different leg angles until you find the shapes that best complement your unique frame. Consistency is the only way to turn these deliberate movements into your natural, everyday seated posture.