To pose effectively while sitting on a chair, you must prioritize posture, limb placement, and the deliberate creation of geometric angles to flatter your frame. The goal is to move beyond a static, slumped position by engaging your core, adjusting your weight, and utilizing the furniture as a prop rather than a resting place. By shifting your center of gravity and controlling your extremities, you can transform a simple seat into a professional photography setup.
Key Takeaways
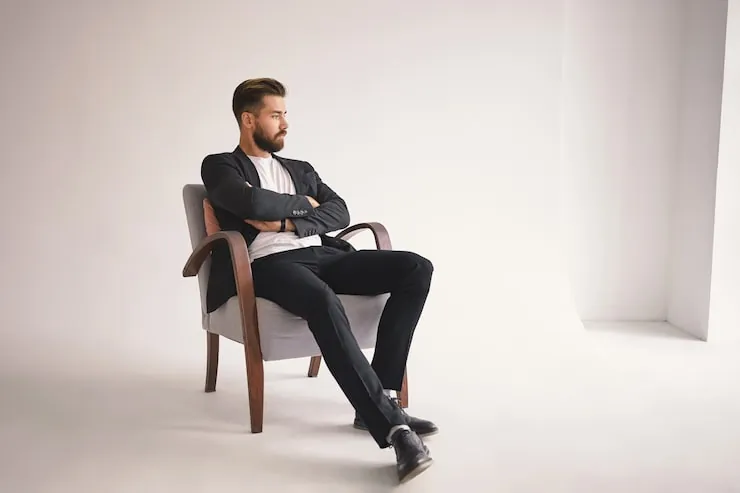
- Avoid sinking into the cushion; keep your spine elongated to maintain a strong silhouette.
- Create visual interest by angling your knees away from the camera lens.
- Use your hands to frame your face or highlight your waist to define your body shape.
- Shift your weight toward the front edge of the seat to prevent unflattering compression.
- Ensure your feet are active—either pointed, crossed at the ankles, or balanced on toes.
How to sit for photography
Professional posing relies on the principle of breaking up straight lines. When you sit squarely facing the camera, you create a boxy, static appearance. Instead, turn your body at a forty-five-degree angle. This simple shift creates a diagonal line that’s naturally more pleasing to the eye. Keep your shoulders relaxed and down, away from your ears, to avoid the appearance of tension in your neck and traps.
Should you sit back or forward?
Sitting back against the chair’s spine often leads to slouching, which shortens the torso and can create unwanted folds in fabric. Most models prefer sitting on the front third of the seat. This position forces you to engage your abdominal muscles to maintain balance, which naturally improves your postural alignment. According to the American Chiropractic Association, maintaining a neutral spine while seated is essential for preventing musculoskeletal strain during long sessions.
| Position | Benefit | Best Use Case |
|---|---|---|
| Edge of seat | Elongates the legs | Full-body fashion shots |
| Deep in seat | Creates cozy mood | Lifestyle or portrait shots |
| Side-saddle | Adds dynamic curves | Editorial or artistic style |
Managing your leg placement
Legs are often the most difficult part of a seated pose. If you leave them planted flat on the floor, they can look heavy or static. Try these variations to improve your visual flow:
- Cross your legs at the knees or ankles to create a triangle shape.
- Extend one leg toward the camera to create a leading line.
- Lift your heels off the ground to engage your calf muscles.
- Drape one leg over the armrest of the chair for a relaxed, casual vibe.
Hand and arm positioning
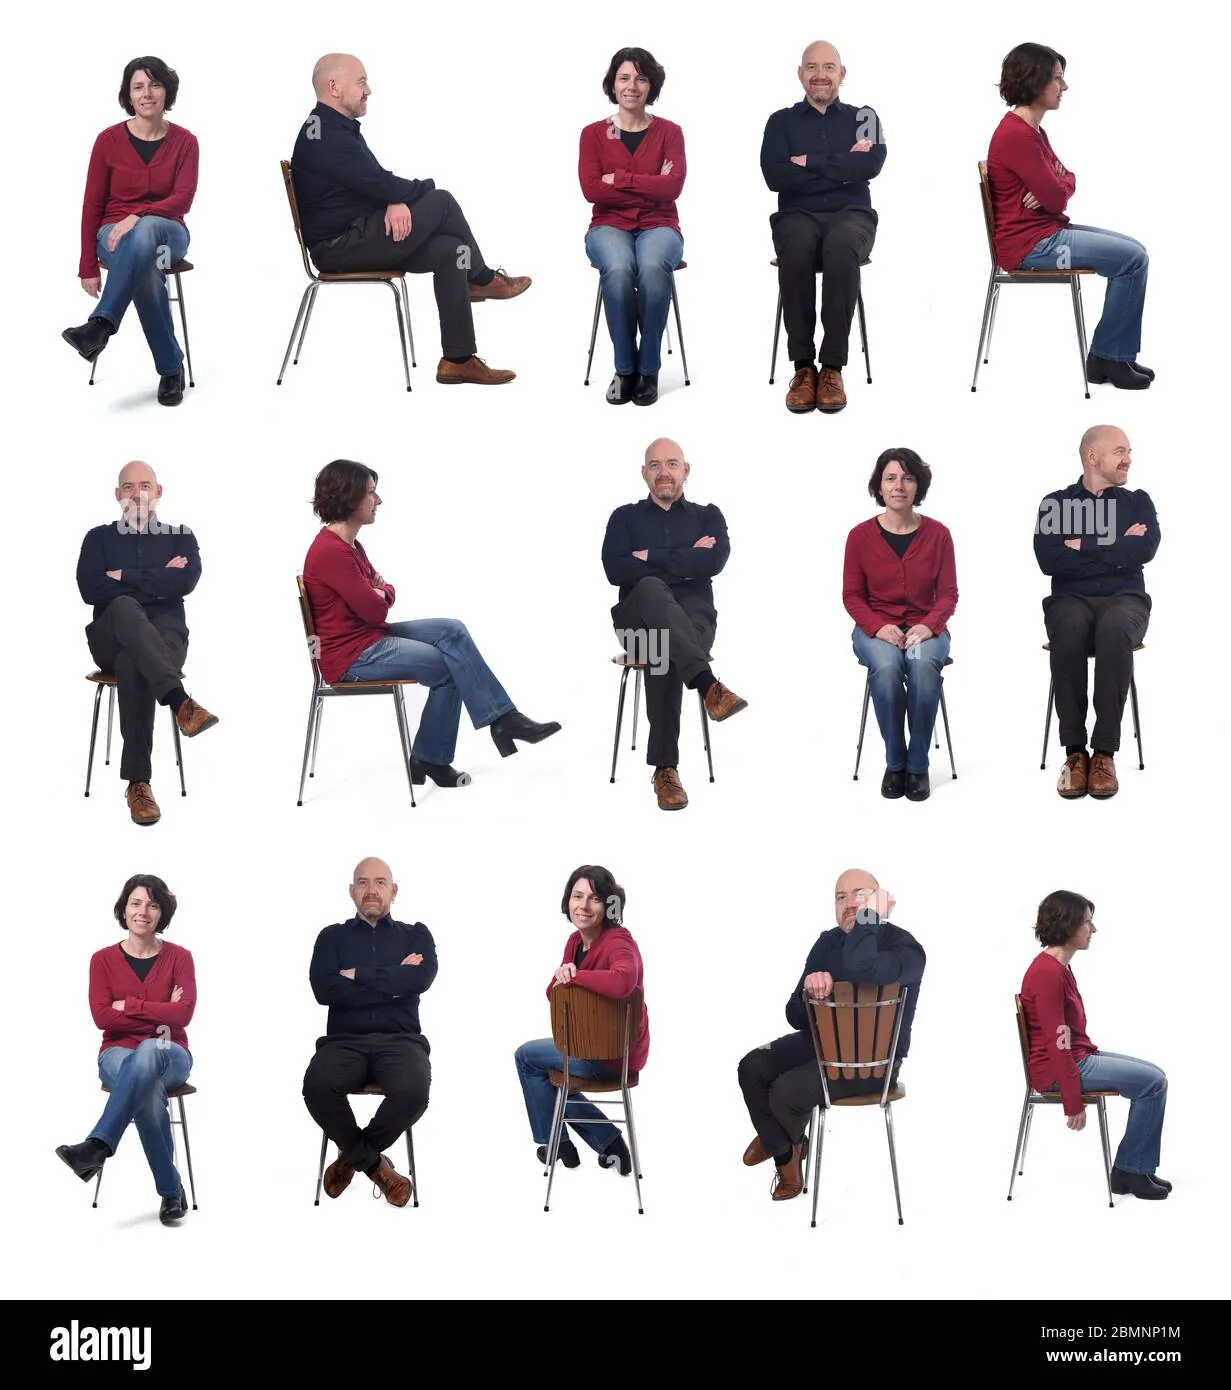
Your hands should never simply rest limp on your lap. Use them to interact with the chair or your own body to add dynamic tension. If you’re unsure where to place them, try resting one hand on your thigh while the other rests on the back of the chair. This creates a sense of movement. Be mindful of your fingers; keep them soft and slightly separated rather than clenched into a fist, which can signal stress.
How to pose sitting on a chair
When you’re specifically working with a chair as a prop, treat it like an extension of your outfit. If the chair has a high back, use it to lean your shoulder against, creating a triangular composition with your upper body. If the chair is a stool, focus on your balance. Keep your core tight and your feet firmly placed or elegantly pointed to maintain a sense of poise.
Essential posing props and tools
- Sturdy stools with no backrests for maximum freedom of movement.
- Velvet cushions to add texture and depth to your portraits.
- Neutral fabric throws to drape over wooden chairs for a softer look.
- Reflective surfaces or mirrors placed nearby to check your angles.
Troubleshooting common posing errors
Warning: Never allow your weight to collapse entirely into the chair, as this will cause your skin and clothing to bunch up in ways that are difficult to fix in post-production. If you notice your chin tucking into your chest, push your forehead slightly forward and down; this creates a sharper, more defined jawline profile. If your feet look awkward, try hiding them behind the chair legs or crossing them tightly to simplify the visual clutter.
Adjusting for different chair styles
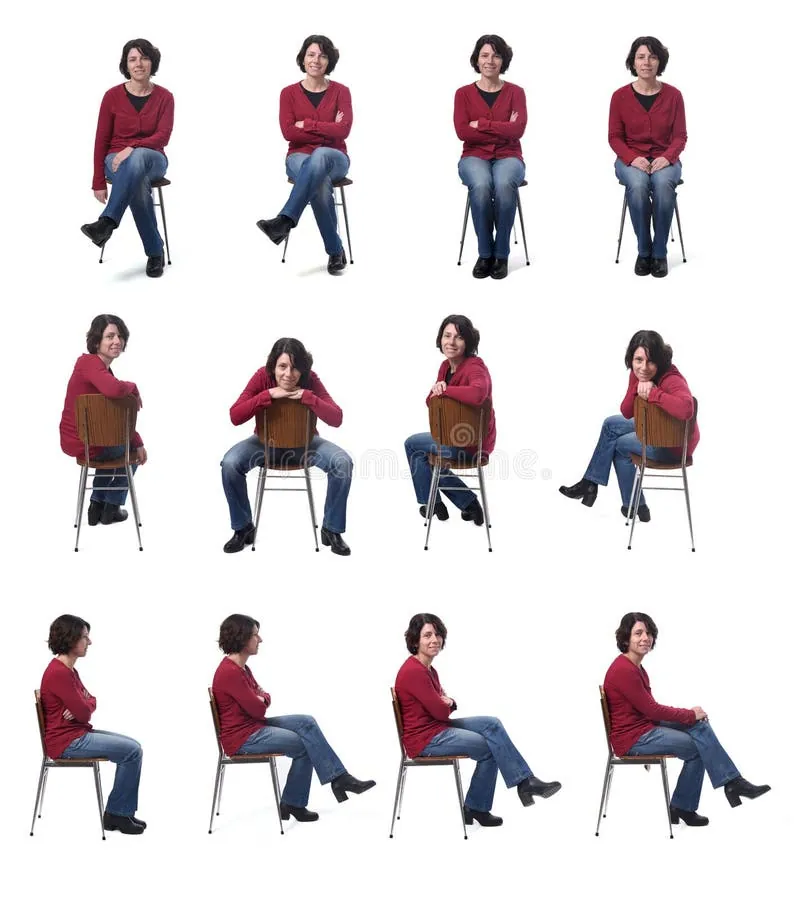
| Chair Type | Posing Strategy | Style Goal |
|---|---|---|
| Office Chair | Lean forward, hands on desk | Professional/Corporate |
| Dining Chair | Sit on edge, back straight | Classic/Formal |
| Armchair | Sink in slightly, legs crossed | Casual/Relaxed |
| Stool | One leg up, one leg down | Fashion/Editorial |
Pro Tip: If you feel your pose looks stagnant, shake out your limbs and reset your posture entirely before the next shutter click to ensure your muscles stay loose and your expression remains fresh.
Related guides
- My Honest Review: Gaming Chair – 2026 Guide
- My Honest Review: Gaming Chair – 2026 Guide
- My Honest Review: Gaming Chair – 2026 Guide
Frequently Asked Questions
How do I make my legs look longer while sitting?
To elongate your legs, sit on the edge of the chair and extend one leg toward the camera while keeping your foot pointed. Avoid crossing your legs directly in front of your chest, as this cuts your frame in half. Instead, angle your knees to the side. This creates a longer, unbroken line from your hip to your toes, which is a classic technique for fashion photography.
Should I look directly at the camera?
Looking directly into the lens creates a powerful, intimate connection, but it isn’t the only option. Try looking just past the lens or toward a focal point in the room to create a more candid, editorial feel. Rotating your head slightly while keeping your body angled can also add depth to the shot and highlight your facial features.
How do I avoid a double chin when sitting?
The secret to avoiding a double chin is to push your face forward and slightly downward, as if you’re reaching your forehead toward the camera lens. This movement stretches the skin of the neck and creates a sharper angle under the jaw. Keep your shoulders relaxed and down during this movement to maintain a natural, non-forced appearance in your portraits.
What should I do with my feet?
Never let your feet hang dead or look like stumps. Either place them firmly on the floor at an angle, tuck them underneath the chair, or lift them onto their toes. If you’re wearing heels, arching your foot creates a beautiful line. If you’re barefoot or wearing flats, focus on pointing your toes to maintain a continuous, graceful shape through the lower leg.
How do I keep my pose from looking stiff?
Stiffness usually stems from holding your breath or tensing your muscles. To fix this, exhale slowly before the photo is taken and consciously drop your shoulders. Incorporate small movements, such as tilting your head or adjusting your hair, to ensure the pose feels lived-in rather than frozen. Movement in the fabric of your clothing also helps to soften the overall appearance of the photograph.
Conclusion
Practice these techniques in front of a mirror for ten minutes before your next photo session to build muscle memory. Start by focusing on one element at a time—first the spine, then the legs, and finally the hands. Once you understand how your body occupies space, you’ll find that posing becomes an intuitive part of your creative process.