To pose in a chair effectively, you must master the art of elongating your limbs and maintaining a deliberate, active posture that prevents you from appearing slouched or shapeless. The goal is to use the furniture as a prop rather than a place to rest, creating dynamic lines that translate well on camera. By shifting your weight and angling your body, you can transform a standard seat into a powerful visual tool for professional portraits or casual lifestyle photography.
Key Takeaways
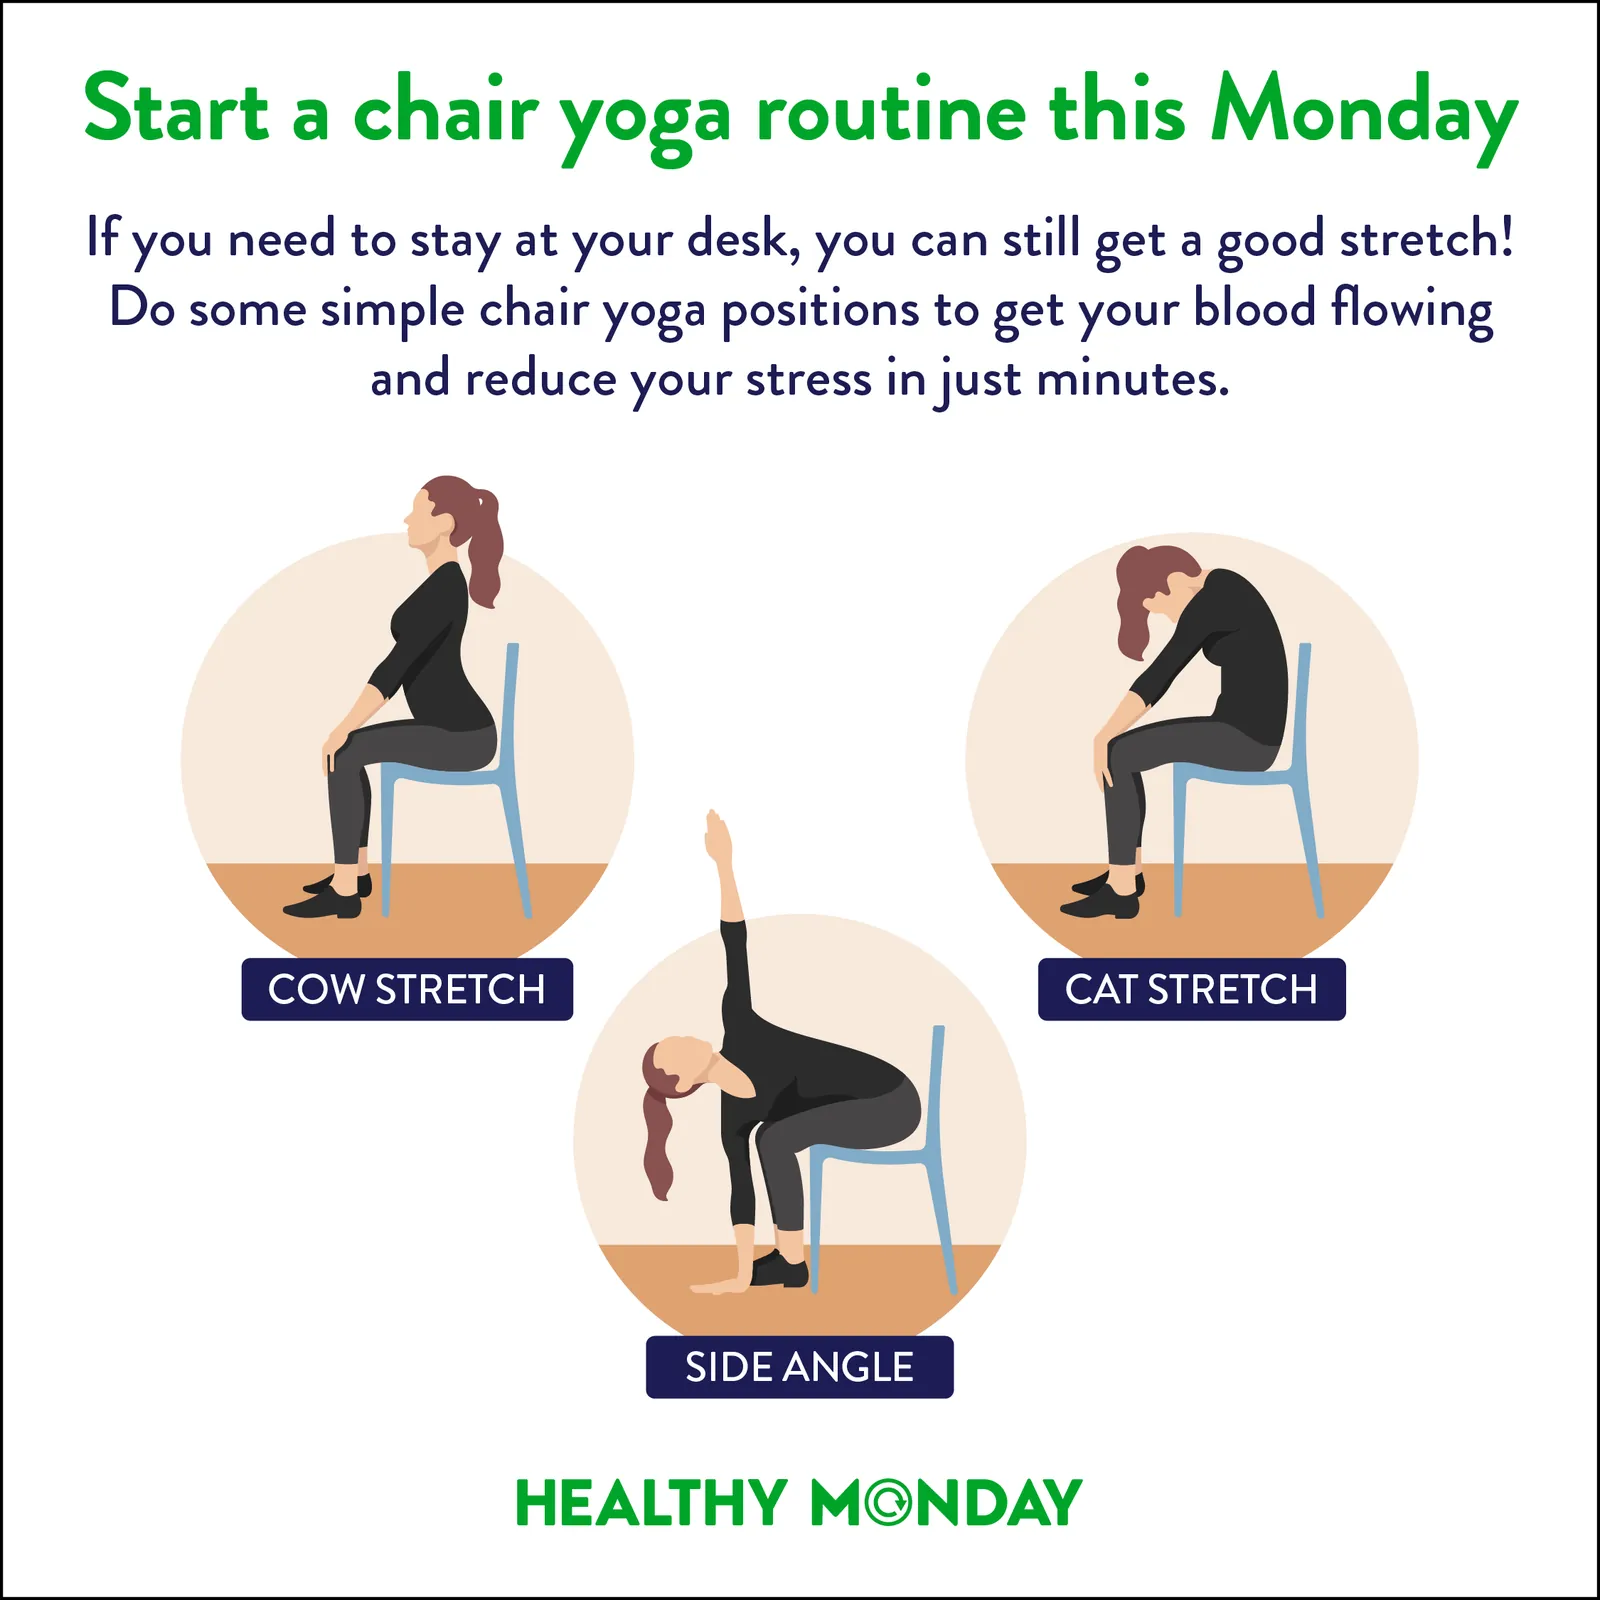
- Always sit toward the edge of the seat to maintain a long, elegant spine.
- Keep your feet active by balancing on your toes or crossing your ankles.
- Use your arms to create negative space, keeping them away from your torso.
- Angle your shoulders away from the camera to appear slimmer and more relaxed.
- Engage your core muscles to ensure you don’t collapse into the chair frame.
How to Pose in a Chair
The secret to a great seated photo is active engagement. If you sink into the cushions, your clothes will bunch up and your posture will look tired. Instead, perch on the front third of the seat. This forces your core to stay tight and allows your legs to extend naturally toward the lens. By keeping your back straight and your shoulders dropped, you project confidence and intentionality.
Creating Dynamic Leg Lines
Your legs are the longest part of your frame, so positioning them correctly is essential. Never let both feet rest flat side-by-side, as this looks stiff and unnatural. Instead, try one of these common leg configurations to add visual interest to your frame.
| Leg Position | Effect | Best For |
|---|---|---|
| One Knee Up | Creates a triangle shape | Edgy, casual portraits |
| Crossed Ankles | Keeps lines clean and long | Professional headshots |
| Leg Extended | Adds length to your frame | Fashion and lifestyle |
| Toes Tapped | Adds a sense of movement | Candid, relaxed vibes |
Positioning Your Arms Properly
Arm placement is where most people struggle. If you let your arms hang dead at your sides, they will look heavy or disconnected. Instead, use your arms to frame your face or support your weight. Place one hand on your knee, or rest an elbow on the back of the chair to create a bend at the joint. A bent limb is almost always more photogenic than a straight one because it creates a visual triangle, which draws the viewer’s eye across the image.
Pro Tip: Avoid pressing your arms tightly against your ribcage, as this makes them appear wider than they actually are. Leave a small gap between your torso and your limbs to keep your silhouette light and defined.
Why Angles Matter Most
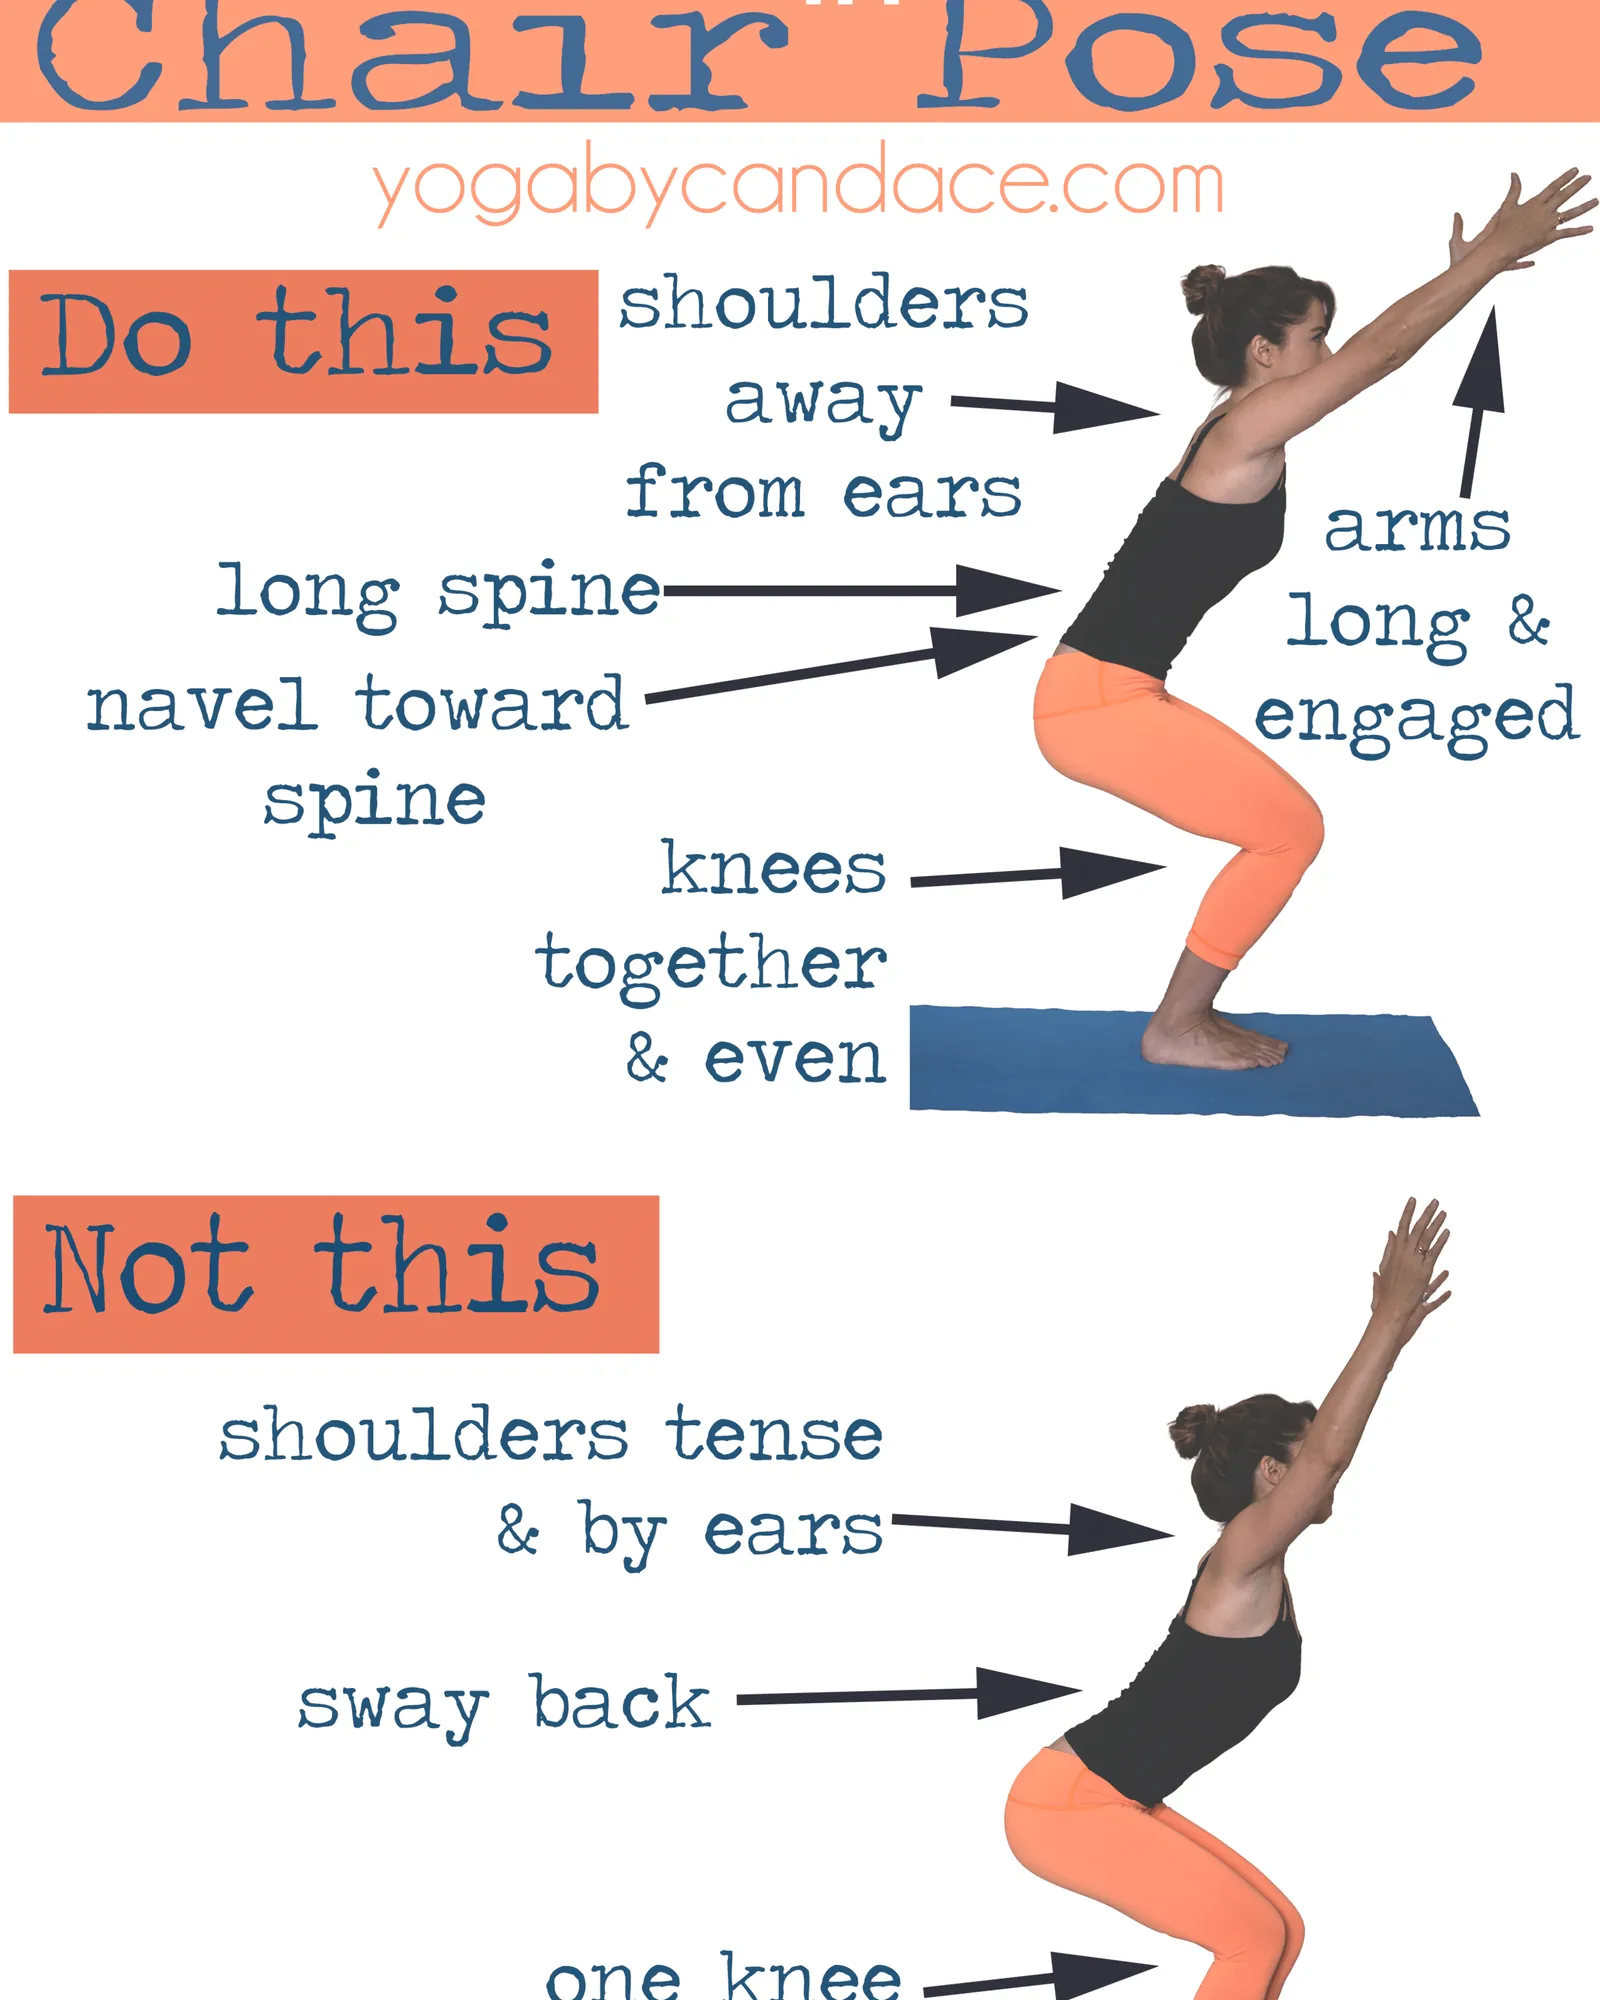
The camera lens can flatten your body, which is why you must avoid facing it head-on. Turn your torso at a forty-five-degree angle to the lens. This simple shift creates a sense of depth and dimension. If you’re sitting on a stool or a chair, keep your head slightly forward to avoid a double chin.
How to Handle Your Hands
Hands are notoriously difficult to pose because they have many small joints. Keep your fingers soft and relaxed. Avoid making a tight fist or splaying your fingers wide. A natural hand position often involves a slight curve, as if you’re holding a delicate object. If you don’t know what to do with your hands, touch your collarbone, adjust your hair, or rest your fingers lightly on the chair arm.
Should You Lean Forward?
Leaning forward is a classic technique used to build a connection with the viewer. By tilting your upper body toward the lens, you seem more approachable and energetic. However, don’t lean so far that you lose your structural integrity. Keep your posture tall and your shoulders pulled back. If you’re wearing a structured jacket, leaning forward can help show off the tailoring, while leaning back into a chair often works better for soft, cozy, or loungewear-focused photography.
Troubleshooting Common Chair Issues
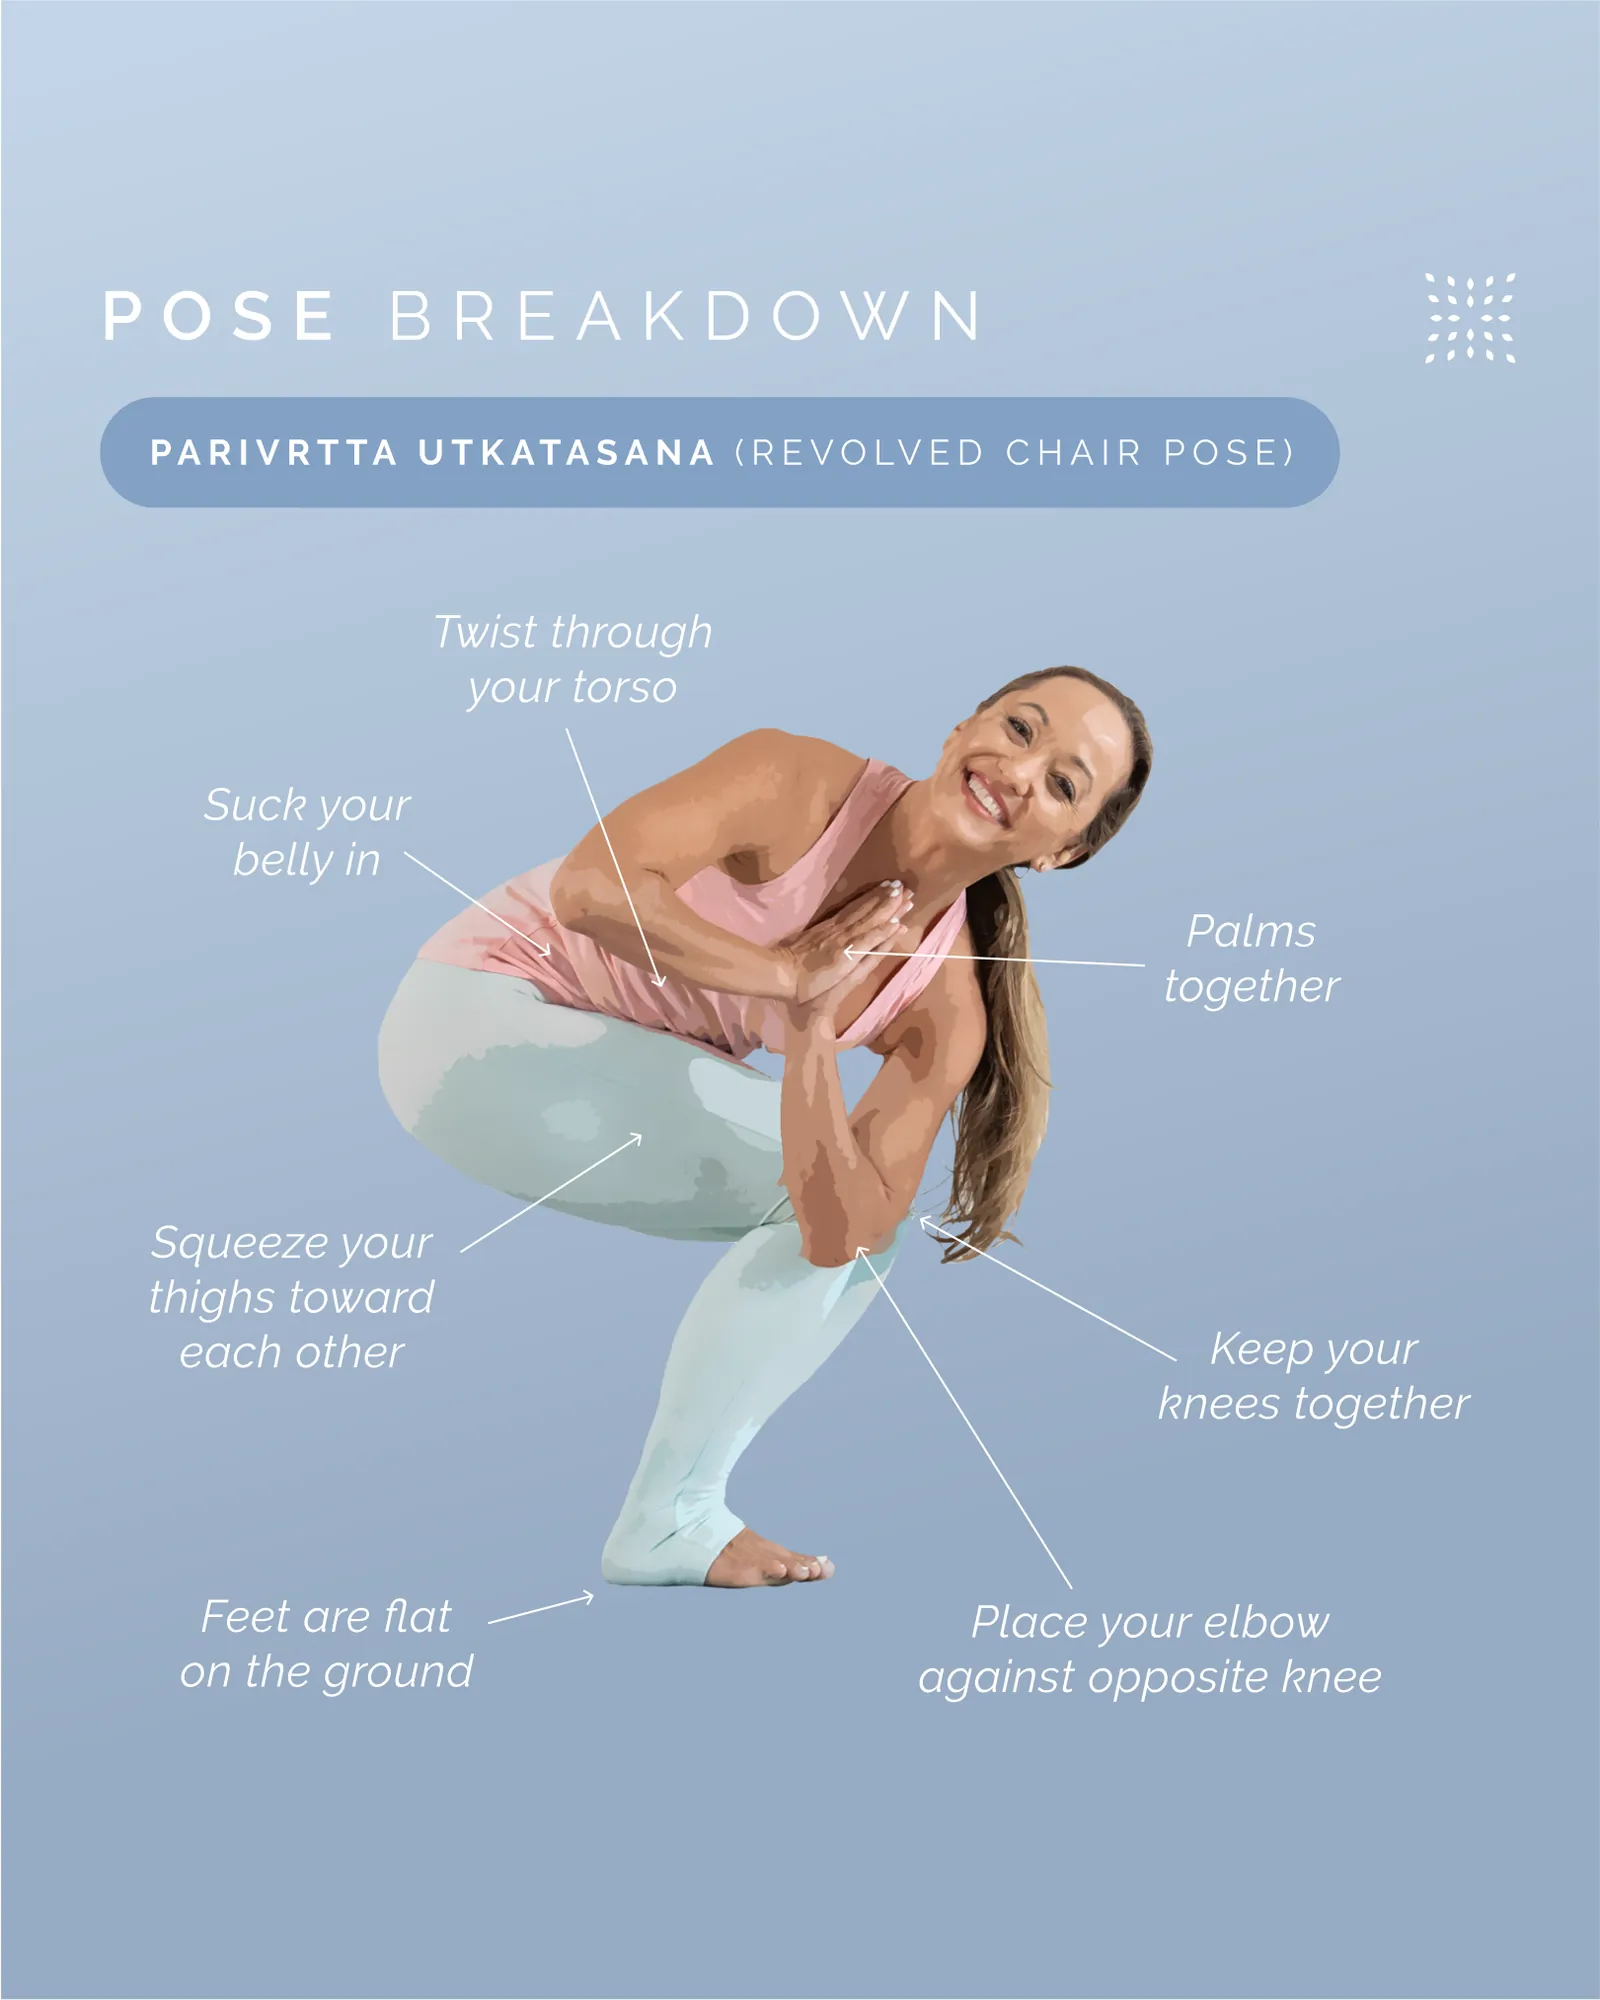
- The “Squished” Look: If your legs look too wide, shift your weight to one hip and angle your knees toward the corner of the room.
- Fabric Bunching: If your clothes are folding awkwardly, stand up and smooth them out before sitting back down carefully.
- Stiff Shoulders: Take a deep breath and exhale while dropping your shoulders down away from your ears to release tension.
Related guides
- My Honest Review: Gaming Chair – 2026 Guide
- My Honest Review: Gaming Chair – 2026 Guide
- My Honest Review: Gaming Chair – 2026 Guide
Frequently Asked Questions
How do I sit so my legs look long?
Extend one leg toward the camera while keeping your foot pointed or resting on the ball of your foot. This creates a continuous line from your hip to your toe. Avoid tucking your feet directly under the chair, as this shortens your limbs and makes you appear smaller.
Should I look directly at the lens?
You can look at the camera for a direct, engaging portrait, or look slightly off-camera to create a more candid, thoughtful mood. If you look away, ensure your eyes follow the line of your nose. Looking at the camera is best for professional branding, while looking away works well for lifestyle or artistic editorial shots.
What if the chair is too low?
If the chair is too low, you may feel like you’re sinking. Use a firm cushion to elevate your seat height, or focus on a pose where you’re leaning forward to keep your upper body prominent. Avoid slouching to compensate for the height difference, as this will result in unflattering shadows on your face.
How do I stop my arms from looking bulky?
Keep your arms away from your torso to create negative space. Don’t press your arms against your body, as this flattens the muscle and skin. By keeping your limbs slightly bent and creating gaps between your arms and your waist, you’ll maintain a slimmer, more defined appearance in every photograph.
Is it okay to slouch in a chair?
Slouching is generally avoided in photography because it creates extra lines around the neck and waist. Even if you’re going for a “relaxed” look, keep your core active. You can achieve a casual vibe by leaning back, but maintain a sense of lift in your chest and keep your neck long to ensure you remain the focal point.
Conclusion
Mastering these poses takes practice, so spend a few minutes in front of a mirror or your camera phone to see which angles suit your specific proportions. Remember that the goal is to look comfortable and confident, not stiff. Once you find a position that feels natural and looks sharp, stick with it and focus on your expression to complete the perfect seated portrait.