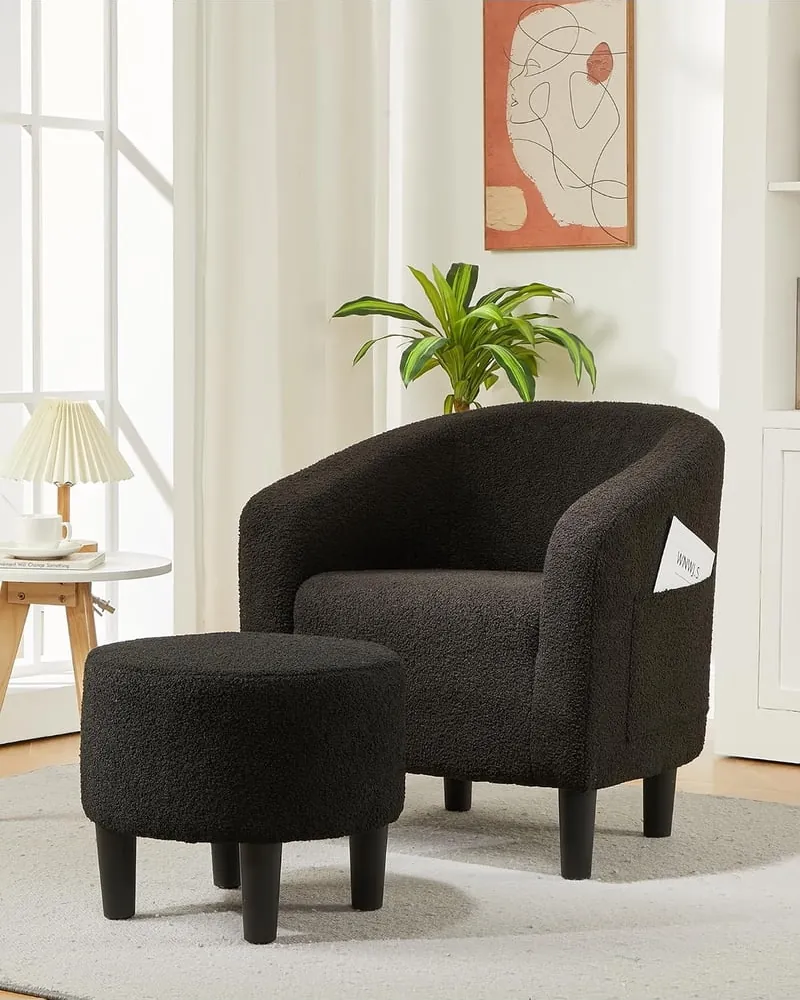
Building a durable club chair takes about 20 to 30 hours of labor and requires a modest budget for quality hardwoods and upholstery supplies. This project needs care and patience, as you must be comfortable using a table saw, a miter saw, and a pneumatic staple gun to ensure the frame stays square. Before you begin, you must have a clear set of measured drawings to guide your cuts.
Gathering supplies to build your club chair

Building a robust frame requires specific components to ensure stability and comfort. The following table outlines the minimum requirements for a standard-sized chair; if you’re building a larger or oversized version, increase your lumber and fabric quantities by 20% to account for the extra surface area.
| Item | How much | Why it’s needed | A substitute |
|---|---|---|---|
| Hardwood lumber | 25 board feet | Structural frame strength | Pine (less durable) |
| High-density foam | 10 square feet | Seat comfort and support | none — don’t swap this |
| Upholstery fabric | 5 linear yards | Exterior finish and wear | none — don’t swap this |
| Wood glue | 16 fluid ounces | Permanent joint bonding | none — don’t swap this |
| Pocket hole screws | 100 count | Mechanical frame fastening | Wood dowels (harder) |
| Webbing straps | 20 linear feet | Seat base suspension | Plywood base (stiff) |
Preparation before starting
- Clear a workspace of at least 100 square feet to allow for safe movement around your assembly table.
- Disconnect power to all stationary saws before you change blades or adjust fences to avoid accidental activation.
- Cover all nearby surfaces with plastic sheeting to protect them from wood glue drips and fabric dust.
- Check your local fire safety codes for upholstery; the Consumer Product Safety Commission provides guidance on flammability requirements for residential furniture materials.
- Wear safety glasses and hearing protection at all times; failing to use these leads to avoidable workplace injuries.
Building the wooden frame

- Cut four 24-inch legs from 8/4 hardwood stock using a miter saw to ensure the ends are perfectly square for level seating.
- Join the front and back rails to the legs using pocket hole screws and wood glue, ensuring the frame is exactly 26 inches wide.
- Attach the side aprons to the legs with reinforced corner blocks, which prevents the frame from wobbling when weight is applied to the chair.
- Install the top back rail at a 10-degree angle to provide ergonomic lumbar support, checking the angle with a digital protractor before fastening.
- Glue and clamp the armrest supports to the outer frame, leaving them to cure for at least 12 hours before removing the pressure.
- Sand all exterior edges with 120-grit sandpaper until smooth, removing any glue squeeze-out that would otherwise show through the fabric later.
- Staple the high-strength webbing to the bottom of the seat frame, pulling each strap to the manufacturer’s recommended percentage of stretch using a webbing stretcher.
- Attach the backrest panel using wood screws, ensuring the panel sits flush against the frame to avoid any future creaking noises.
Verifying structural integrity
Success is measured by the rigidity of the frame and the tension of the seat suspension. A properly built chair should show no visible flex when 200 pounds of weight is applied to the seat center. If you hear any clicking or see the legs shift, you must tighten the corner blocks or add additional wood glue to the joints. Ensure the frame remains square by measuring the diagonals; the difference between them must be less than 1/8 inch.
Troubleshooting assembly issues
| What happened | Why | What to do |
|---|---|---|
| Frame wobbles | Uneven floor or legs | Trim the shortest leg |
| Joints gap | Poor cut angle | Use wood filler |
| Fabric wrinkles | Uneven tension | Re-staple from center |
| Screws strip | Hardwood density | Drill pilot holes |
| Glue fails | Cold temperature | Use a heat lamp |
Expected maintenance intervals
You should inspect the chair frame every 12 months to ensure that no joints have loosened from seasonal wood movement. The frequency of this check depends on the local humidity levels and the amount of daily use. If you live in a climate with extreme seasonal changes, check the fasteners twice a year, as wood expands and contracts, which can back out screws over time.
Frequently asked questions
Can I build this without a table saw?
You can build this without a table saw if you purchase pre-dimensioned lumber, though you’ll still need a miter saw to ensure your cross-cuts are perfectly square.
How long does the upholstery last?
Upholstery lasts for a significant duration depending on the fabric grade and the frequency of use, assuming you choose a material with a high double-rub count.
Is it safe to use plywood for the frame?
It’s safe to use structural-grade plywood for internal frame members, but you must use 3/4-inch thick sheets to prevent the material from bowing under weight.
What happens if the frame isn’t square?
An out-of-square frame causes uneven pressure on the legs, which leads to premature joint failure and a chair that feels unstable when you sit down.
Why does my chair creak?
Creaking occurs when wood-on-wood joints rub together, which you can fix by tightening the screws or injecting a small amount of wood glue into the gap.
Does it matter which glue I use?
It matters because you need a PVA wood glue rated for high-strength structural applications; check the label to ensure it’s intended for furniture assembly.
Conclusion
Building a chair is a rewarding project that relies on precise measurements and patience during the assembly phase. Take your time with the frame construction, as this is the foundation for every other layer of the piece. Once the structure is solid, the upholstery process becomes much more forgiving, allowing you to focus on the aesthetic details of your final design.
Related guides