Building a custom workstation takes 12 to 16 hours and is inexpensive depending on your materials. Building an ergonomic chair is a project of medium difficulty requiring basic woodworking skills and a drill. Before starting, ensure you have a clear workspace and a tape measure for accurate alignment.
Gathering parts to build your chair
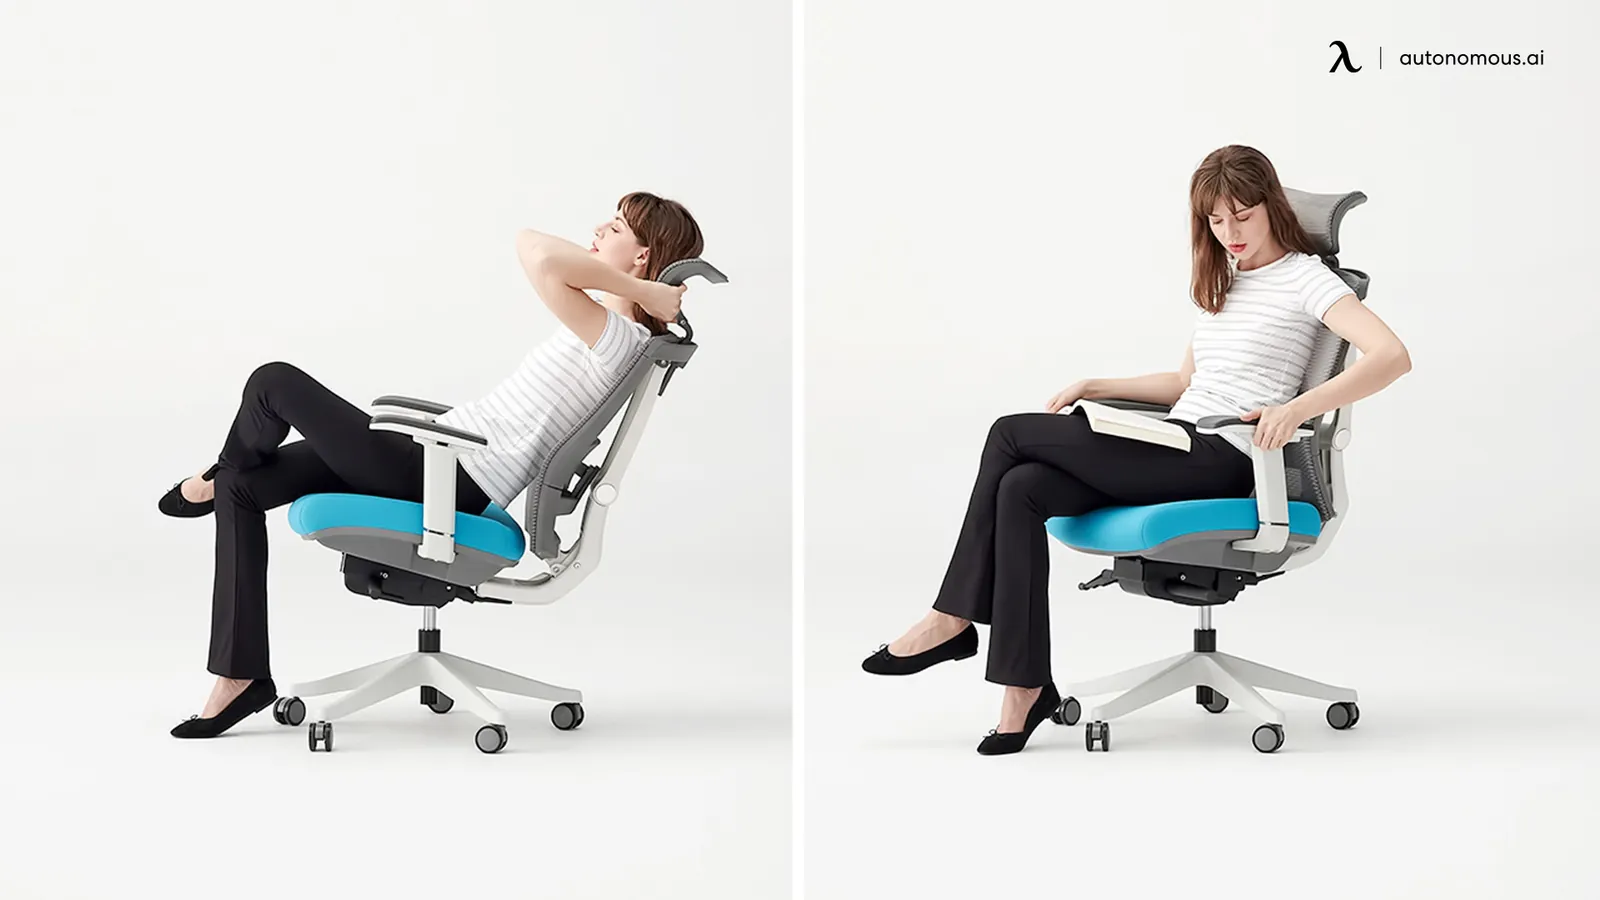
Gathering the right components ensures your seat remains stable and safe for daily use. If you choose lower-grade materials, the structure may fail, so prioritize solid hardwoods like maple or oak.
| Item | How much | Why it’s needed | A substitute |
|---|---|---|---|
| Hardwood lumber | 20 board feet | Structural integrity | Softwood (weaker) |
| Wood screws | 50 count | Securing joints | Nails (don’t use) |
| Wood glue | 16 ounces | Reinforcing wood bonds | None — don’t swap |
| Foam padding | 4 inches thick | User comfort | Cotton batting (flattens) |
| Upholstery fabric | 2 yards | Protecting the foam | Canvas (too rough) |
| Swivel base kit | 1 unit | Required rotation | Fixed legs (no adjustment) |
Preparation before you begin
- Clear a workspace of at least 8 by 8 feet to allow for safe wood cutting and assembly.
- Unplug all power tools when changing bits or blades to prevent accidental activation.
- Cover your floor with heavy plastic sheeting to catch sawdust and glue drips.
- Wear safety glasses at all times when operating saws or drills to protect your eyes.
- The ANSI/HFES 100-2007 standard provides ergonomic design guidelines that can help inform the dimensions of your chair for better comfort.
Steps for assembly

- Measure your desired seat height by sitting in a standard chair and noting the distance from your floor to the underside of your knee.
- Cut your hardwood base frame pieces to size using a miter saw, ensuring all corners are cut at a precise 90-degree angle for stability.
- Apply a thin layer of wood glue to every joint before driving two 2-inch wood screws into each connection to ensure a permanent bond.
- Attach the swivel base kit to the center of the seat frame using the manufacturer-provided bolts, making sure the plate is perfectly centered.
- Cut your plywood seat pan to 18 by 18 inches, then attach it to the base frame using wood screws spaced every 6 inches.
- Glue the 4-inch high-density foam to the top of your plywood pan using a spray adhesive, pressing firmly for 60 seconds to set.
- Wrap your chosen fabric over the foam, pulling it taut before stapling it to the underside of the plywood frame every 2 inches.
- Construct the backrest frame using two 20-inch vertical supports, attaching them to the rear of the seat base with steel mending plates.
- Test the structural stability by applying firm pressure to the backrest; if it wobbles, add a triangular brace to the rear joint.
How to verify your work
Check your build by sitting on the chair to ensure the base remains level and the backrest provides firm support for your lumbar region. If you hear creaking, you likely have a loose screw that needs immediate tightening to prevent the frame from splitting.
Troubleshooting common issues
| What happened | Why | What to do |
|---|---|---|
| Seat wobbles | Uneven floor or frame | Level the base legs |
| Fabric wrinkles | Uneven tension | Pull and re-staple |
| Creaking noises | Loose joint screws | Tighten all connections |
| Backrest flexes | Weak rear supports | Add metal brackets |
| Swivel sticks | Lack of lubrication | Apply silicone spray |
Regular maintenance schedule
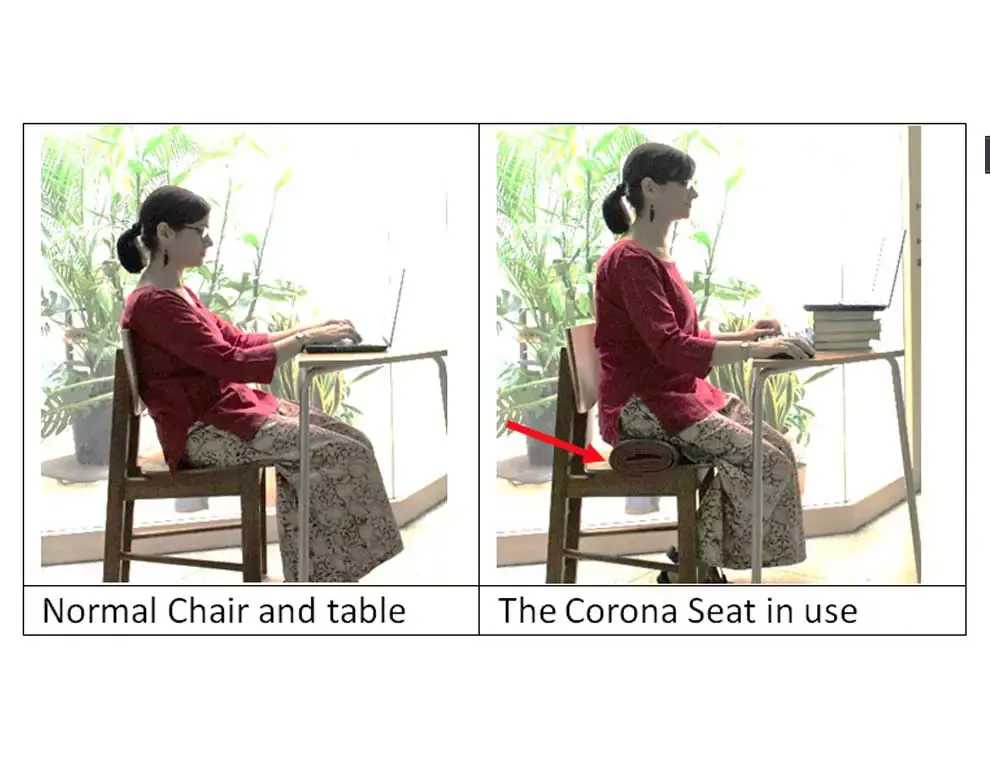
Inspect and tighten all hardware every 6 months for safety. If used over 8 hours daily, inspect every 3 months. Check for loose bolts after any move or height adjustment.
Frequently asked questions
Can I build an ergonomic chair without power tools?
You can build one with hand tools, but it will take twice as long and requires high manual precision. Hand saws often leave uneven edges, so use a sanding block to ensure your joints remain flush for maximum durability.
How long does a handmade chair last?
A well-made chair lasts for a significant duration if you use quality hardwood and maintain the joints. Check the wood grain for cracks annually; if you find large splits, replace the damaged piece immediately to avoid a total structural collapse.
Is it safe to use pine for the base?
It isn’t recommended because pine is too soft and will likely crack under regular pressure. Use oak or maple for all weight-bearing parts to ensure the frame supports your weight safely over many years of daily use.
What happens if the swivel base breaks?
You must replace the entire swivel unit if the internal bearings fail, as they aren’t serviceable. Check the mounting holes on your current frame before buying a replacement to ensure the new base matches your existing layout.
Does the foam density matter?
The foam density determines how long the seat stays comfortable before it flattens and causes pressure points. Use a foam with a density rating of at least 1.8 pounds per cubic foot to ensure the seat maintains its shape.
How much weight can a custom chair hold?
The weight limit is determined by the strength of your wood joints and the quality of the swivel base. Most standard swivel kits are rated for 250 pounds; check the manufacturer label on your specific base for the exact limit.
Conclusion
Building a chair requires patience, but the result is a piece of furniture tailored to your exact height and comfort needs. By following these steps and using durable materials, you create a seat that supports your posture better than most mass-produced options. Always prioritize the strength of your joints over the aesthetic finish, as a stable frame is the most important part of any ergonomic project.
Related guides