Building a custom chair that rotates requires about four hours of work and costs roughly $80 to $150 depending on your materials, and you can tackle this medium-difficulty project with a drill and a basic hand saw.
Parts needed to build your swivel chair

You must gather specific hardware to ensure the seat rotates safely and supports your weight. If you use generic hardware store parts, check the weight capacity labels to match the expected load.
| Item | How much | Why it’s needed | A substitute |
|---|---|---|---|
| Swivel plate | 1 unit | Allows 360-degree rotation | none — don’t swap this |
| Seat base | 1 piece | Supports your body weight | Plywood (1 inch thick) |
| Chair legs | 4 pieces | Provides stable foundation | Sturdy wooden blocks |
| Wood screws | 20 pieces | Secures all joints firmly | none — don’t swap this |
| Wood glue | 4 ounces | Reinforces wood connections | none — don’t swap this |
| Foam cushion | 2 inches | Adds necessary seating comfort | Thick upholstery fabric |
Before you start your build
- Clear a workspace of at least 6 feet by 6 feet to allow for cutting and assembly.
- Disconnect any power tools from their source when changing bits to avoid accidental injury.
- Cover your floor with a drop cloth to protect surfaces from wood glue and debris.
- Check that your swivel plate meets the ANSI/BIFMA furniture safety standards for stability and durability.
- If you lack experience with power tools, consult a local woodworker to help with the initial cuts.
Step by step construction
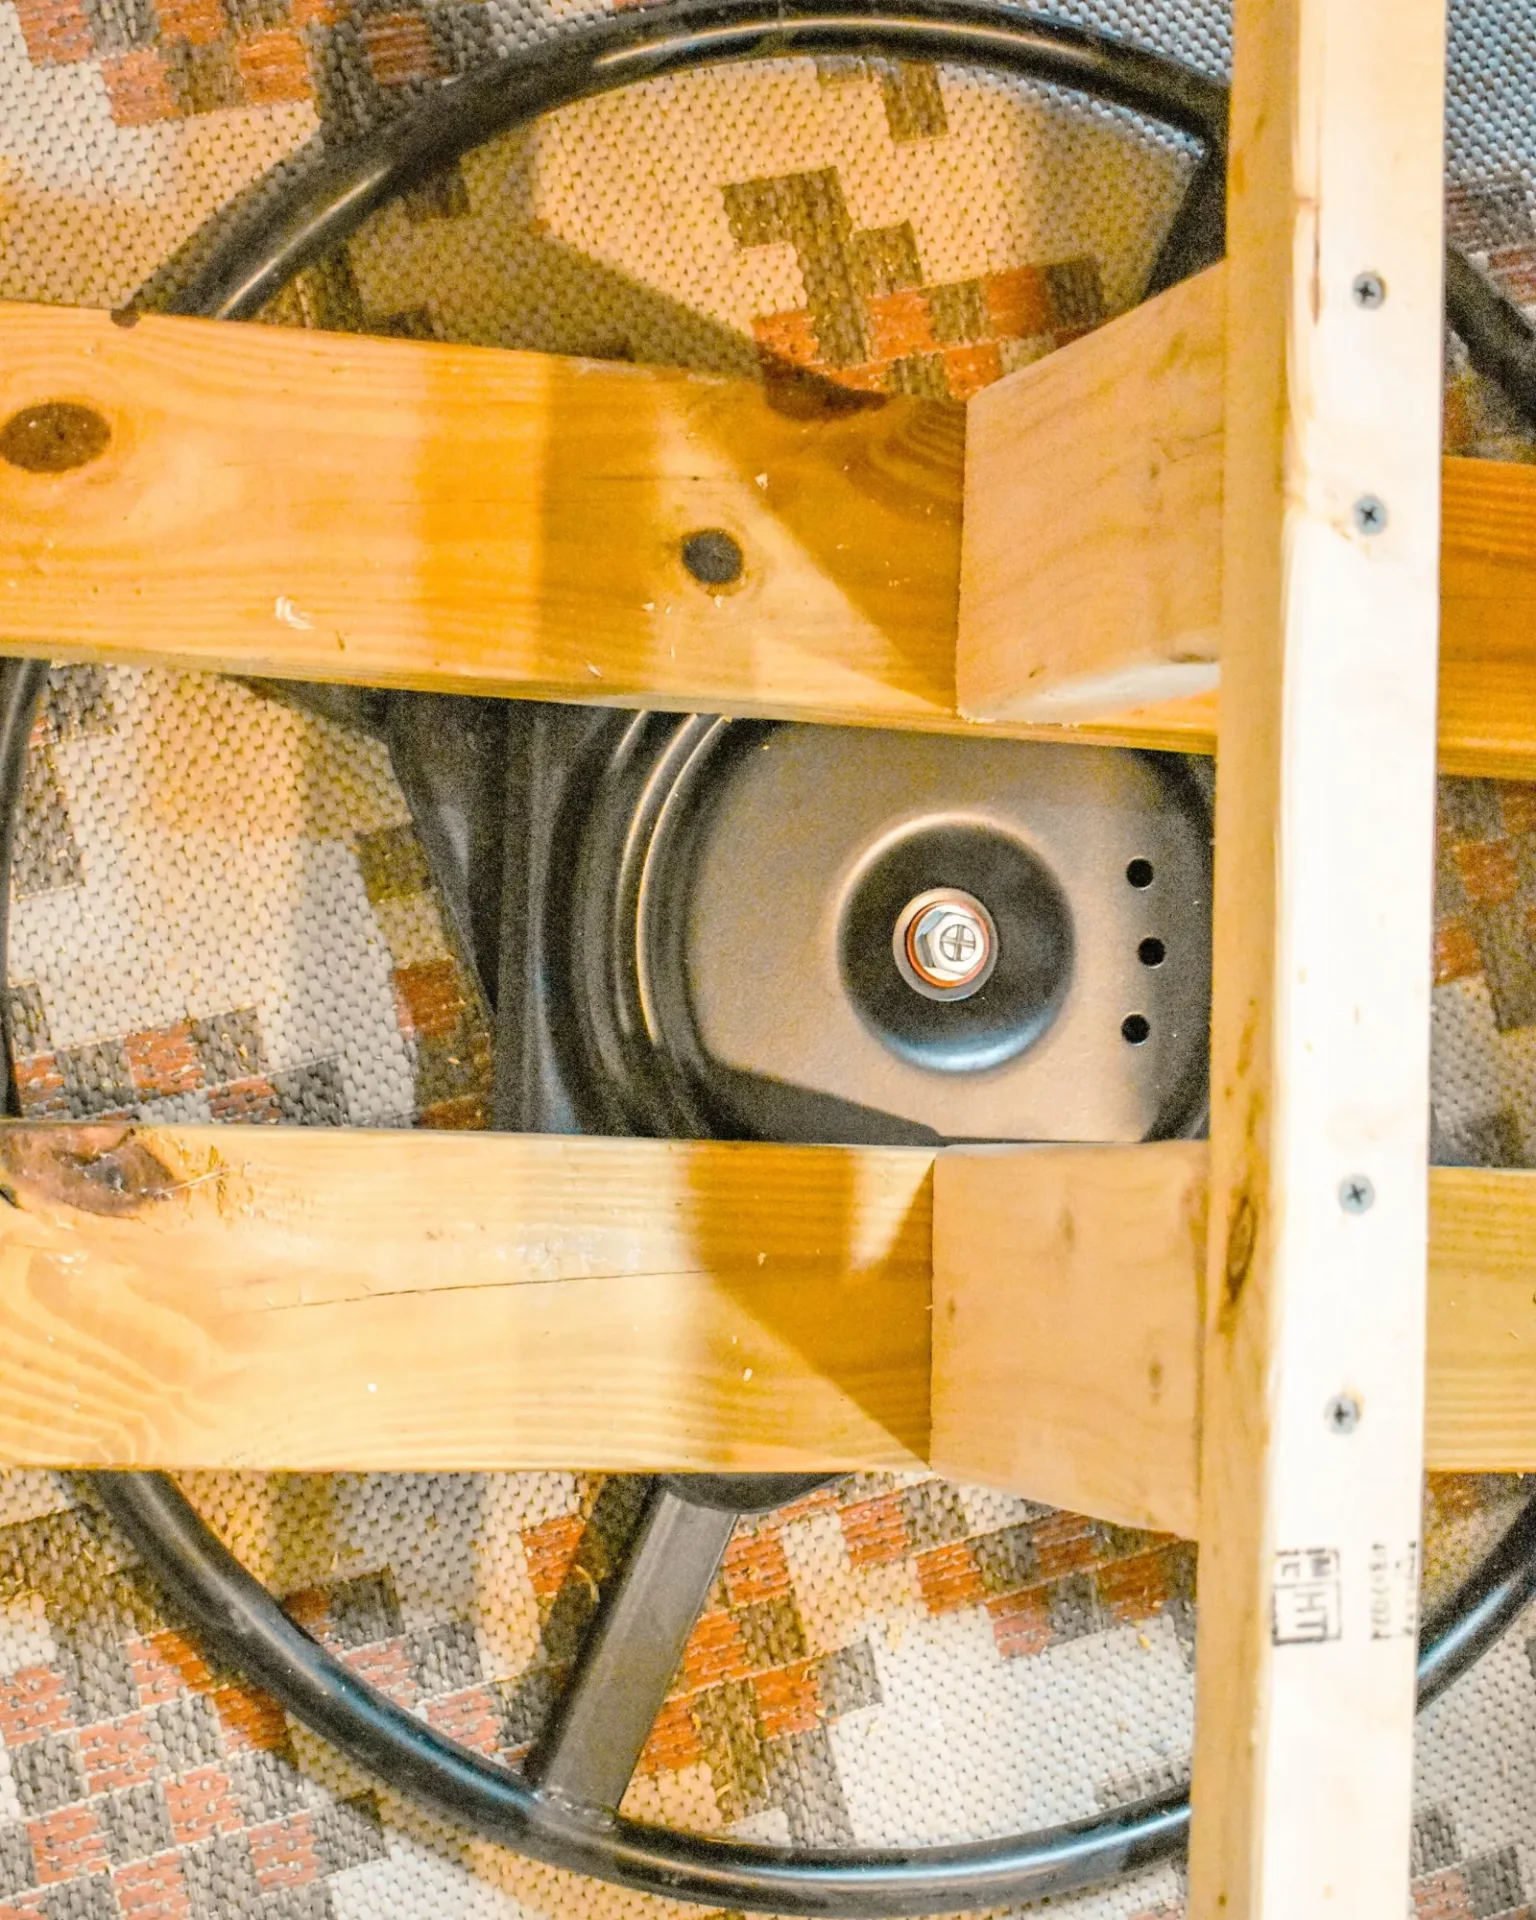
- Measure your seat base to be 18 inches by 18 inches using a square to ensure all corners are perfectly perpendicular.
- Cut the wooden legs to 16 inches tall, ensuring each leg is identical so the chair doesn’t wobble when you sit.
- Attach the four legs to the bottom of your seat base using two wood screws and a bead of glue at each corner.
- Drill pilot holes into the center of the seat base to prevent the wood from splitting when you drive the screws in later.
- Align the swivel plate precisely in the center of the seat base and mark the four mounting holes with a pencil.
- Secure the swivel plate to the seat base using 1-inch screws, tightening them firmly until the metal plate sits flush against the wood.
- Attach the top part of the swivel mechanism to the underside of the seat cushion board using four heavy-duty wood screws.
- Test the rotation by spinning the seat manually to ensure it moves freely without catching on the leg frame.
Signs the build worked
A successful build results in a seat that rotates smoothly for a full 360 degrees without any grinding sounds or resistance. If the chair feels stiff, check that you didn’t overtighten the mounting screws on the swivel plate, as this can compress the internal bearings. You should also ensure the chair doesn’t tip when you lean slightly; if it does, your leg base is likely too narrow for the seat height.
Troubleshooting common assembly issues
| What happened | Why | What to do |
|---|---|---|
| Chair wobbles | Uneven leg lengths | Sand the longest leg down |
| Swivel is noisy | Dry metal bearings | Apply silicone lubricant spray |
| Seat feels loose | Stripped screw holes | Use wood filler and reset |
| Plate won’t spin | Debris in bearings | Clean with compressed air |
| Screws are pulling | Wood is too soft | Use larger diameter screws |
Frequency of maintenance

You should inspect your chair every six months to ensure all screws remain tight and the swivel mechanism moves without resistance. The frequency changes based on how often you use the chair and the weight it carries daily. If you notice a clicking sound, check the ball bearings for dust or hair buildup, as these particles can interfere with the rotation.
Frequently asked questions
Can I build a swivel chair without power tools?
You can build a swivel chair using hand tools, but it requires significantly more time and physical effort to cut the wood and drive the screws. Ensure you use a miter box to keep your cuts square.
How long does it take to assemble the swivel mechanism?
It takes about 15 minutes to attach the swivel mechanism once the seat base is prepared. Ensure you align the plate perfectly in the center, or the chair will feel unbalanced during use.
Is it safe to use a swivel chair on carpet?
It’s generally safe to use a swivel chair on carpet, but you should use a plastic floor mat to prevent the legs from sinking. This keeps the base level and prevents the swivel from binding.
What happens if the swivel plate is off-center?
An off-center plate causes the chair to lean to one side or wobble when you shift your weight. You must remove the screws and reposition the plate to fix this alignment issue.
Does it matter what type of wood I use?
It matters because the weight capacity depends on the wood density; use hardwoods like oak or maple for the best support. Softwoods like pine may split under heavy use if the screws are tight.
How much weight can a DIY swivel chair hold?
The weight capacity is determined by the rating on your specific swivel plate, which you can find printed on the packaging. Always check this number before you begin to ensure it supports your body weight.
Conclusion
Building your own furniture is a rewarding process, but always prioritize structural integrity over design. If you notice any cracks in the wood or the swivel mechanism starts to deform, stop using the chair immediately and replace the damaged components before sitting on it again.
Related guides