Building ergonomic chair components at home takes about 4 to 6 hours across a weekend, costs roughly $90 to $140 in timber and hardware, and rates as a medium-difficulty project. You must have an accurate handheld tape measure before cutting your first timber board.
Materials for your chair build
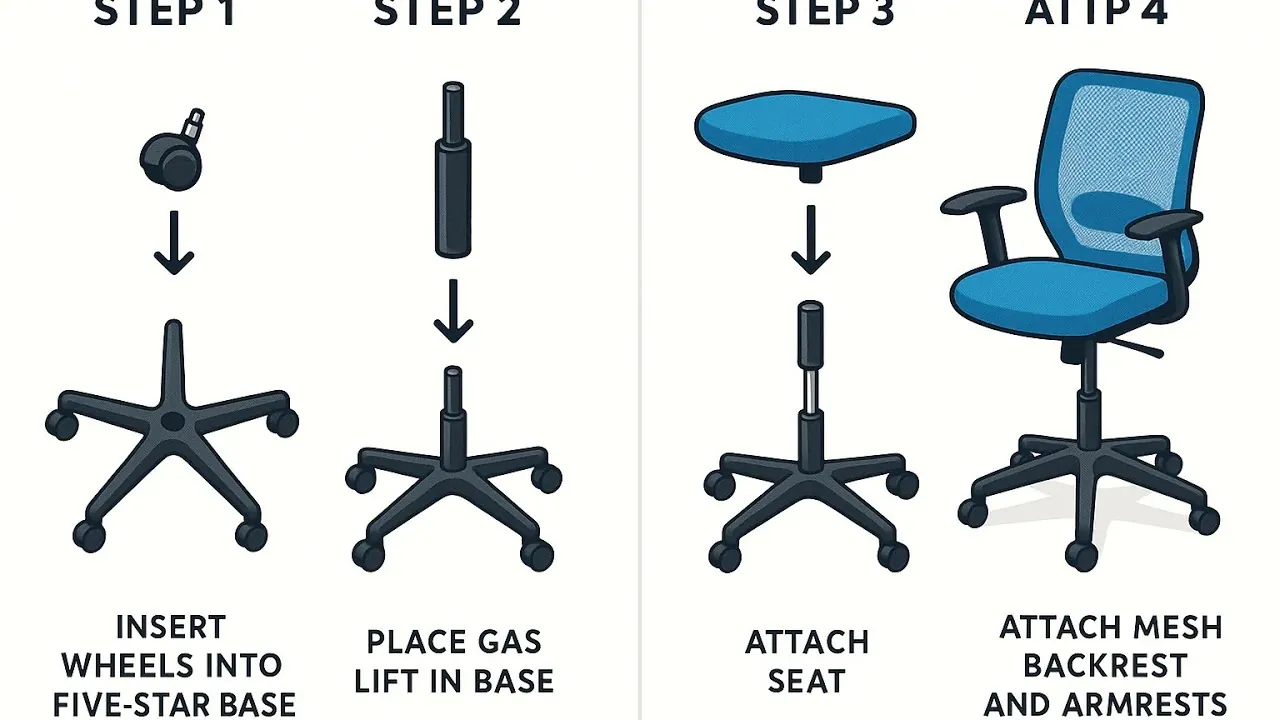
You can build a comfortable work seat using common lumber, standard foam, and simple fasteners. Gather these materials before cutting any wood.
| Item | How much | Why it’s needed | A substitute |
|---|---|---|---|
| 3/4-inch plywood | One 4×8 ft sheet | Forms rigid seat base and back | none — don’t swap this |
| 2×4 lumber | 16 linear feet | Builds base frame and legs | 2×6 ripped in half |
| High-density foam | 24×24 in, 3-in thick | Cushions seat pan correctly | Layered 1-inch firm carpet underlay |
| Medium foam | 20×18 in, 2-in thick | Supports lower back curve | none — don’t swap this |
| 1.25-inch wood screws | Box of 50 screws | Joins panels and braces securely | 1.5-inch pocket screws |
| Upholstery fabric | 2 yards durable canvas | Covers foam and resists abrasion | Heavy denim fabric |
| Spray adhesive | One 14-oz can | Bonds foam to plywood core | Brush-on contact cement |
Workspace preparation and safety checks
Clear a flat floor space of at least 8 by 8 feet so you can assemble boards without tripping. Keep your power cables tucked away from your walking path.
- Unplug your circular saw and sander while measuring or changing blades.
- Clear all scrap offcuts off your assembly bench to keep joins flat.
- Cover your cutting bench with a sacrificial cardboard sheet before gluing foam.
- Measure your desk height from the floor before making a single wood cut.
If you lack ventilation or circular saw experience, stop here. Ask an experienced woodworker for help.
Assembling your custom seat
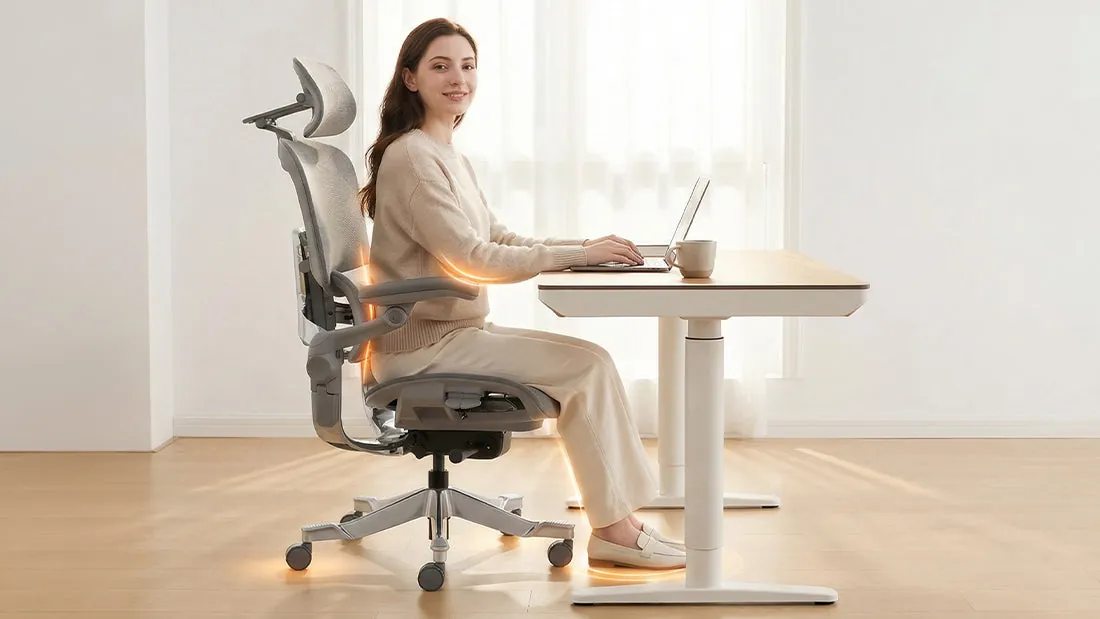
Cut timber slowly to keep joints square. A steady frame supports your spine.
Measure your lower leg length from heel to knee crease for ideal seat height. The OSHA computer workstations guide recommends keeping thighs parallel to the floor with feet flat.
- Cut a 19×19-inch square from your 3/4-inch plywood sheet using a circular saw guided by a straightedge.
- Cut two 18-inch sections of 2×4 lumber to serve as the lower seat mounting rails.
- Bevel the back edge of the seat base downward at a 5-degree angle using a hand plane.
- Cut a backrest panel measuring 18 inches wide and 22 inches high from the remaining plywood.
- Cut two 2×4 back uprights angled back at 100 degrees from the seat rails for healthy posture.
- Fasten the uprights to the seat rails using four 1.25-inch screws per side after drilling pilot holes.
- Spray adhesive onto the plywood seat base and press the 3-inch high-density foam firmly for 30 seconds.
- Glue the 2-inch medium foam to the backrest, placing extra scrap foam at the 7-inch lower mark.
- Pull your canvas tightly over the foam and drive 1/2-inch heavy staples into the plywood back every 2 inches.
- Bolt your upholstered backrest directly to the angled uprights using four 1/4-inch carriage bolts.
Verifying your posture and fit
Sit fully back against the backrest with your feet flat on the floor. You should easily slide two fingers between the front seat edge and your calf muscles.
Your lower back should touch the lumbar pad without pushing your upper chest forward. If knees are higher than hips, shorten legs by 1 inch. If feet dangle, use a footrest until you trim the frame.
Troubleshooting assembly errors
Wood joints can slip out of square during initial assembly if screws pull unevenly. Check these common fixes if your build feels off.
| What happened | Why | What to do |
|---|---|---|
| Seat wobbles on flat floor | Leg cuts differ in length | Sand lowest long leg down slowly |
| Lower back feels strained | Lumbar bump sits too low | Unscrew backrest and raise 1.5 inches |
| Thighs pinch at front | Seat front lacks rounded edge | Remove fabric and rasp front edge |
| Back panel flexes back | Screws split the upright wood | Install metal corner braces at joint |
| Fabric wrinkles after sitting | Canvas was pulled loosely | Pull fabric tighter and re-staple corners |
Maintenance and hardware schedule
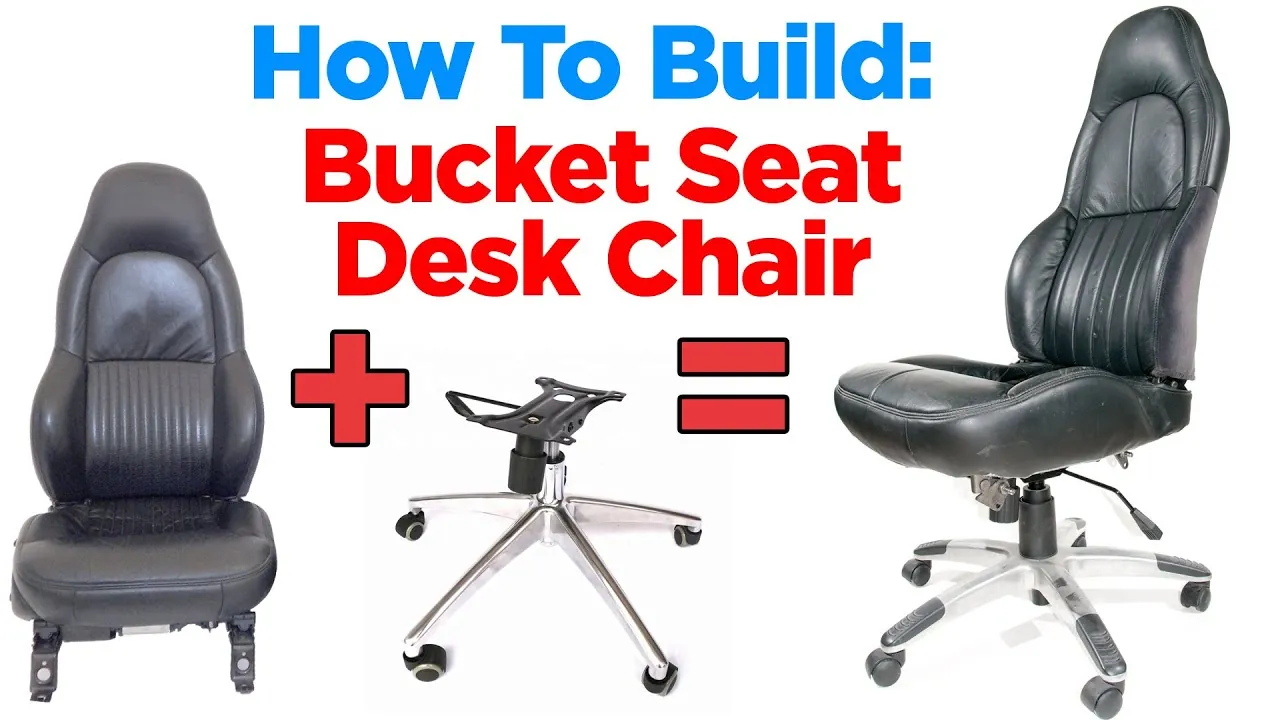
Hand-tighten wood screws every 6 months.
Your user weight and total daily desk hours move this schedule most. If you weigh over 200 pounds, check fasteners every 90 days. Annual inspections suffice in dry, air-conditioned spaces.
Frequently asked questions
Can I build this chair without power tools?
Yes, you can build this seat with a hand saw, screwdriver, and manual staple gun. It takes about 10 hours instead of 5, but your joints will remain just as sturdy.
Why does my lumbar curve hurt after sitting?
Your lumbar pad is likely mounted higher than your natural lower back curve. Lower the backrest support bump by 1 to 2 inches so it fills the space just above your beltline.
How much weight can this wooden frame support?
A frame built with clear 2×4 lumber and 3/4-inch plywood easily supports 300 pounds under daily use. Fastener quality and clean pilot holes determine the ultimate strength of your joints.
Is high-density upholstery foam safe for skin contact?
Yes, standard polyurethane upholstery foam is safe once wrapped inside fabric covers. Always cover it with canvas or cotton to stop raw foam crumbling from friction and light exposure.
What happens if the seat angle is tilted forward?
A forward-tilted seat causes your pelvis to slide down and forces extra strain into your knee joints. Level the base or tilt it backward by 3 to 5 degrees instead.
Does seat pan depth really matter for ergonomics?
Yes, an extra-deep seat pan cuts off blood circulation behind your knees within 30 minutes. Leave a 2-inch gap between the seat edge and your calves to protect blood flow.
If your desk sits higher than 30 inches, build an angled footrest box to keep your thighs horizontal. A custom seat built to your exact limbs protects your spine far better than a poorly adjusted factory chair.
Conclusion
Once you’ve tightened the final bolts, take a moment to sit and test the lumbar support. If it feels a bit stiff, don’t worry; you can easily sand down the edges or add a thin cushion later. You’ll be surprised how much better your posture feels once you’ve settled into your custom creation.